

Field to File: Up Close with Mycena interrupta
A step-by-step look at how I photograph tiny mushrooms like Mycena interrupta—including my camera gear, lighting setup, and focus stacking process.

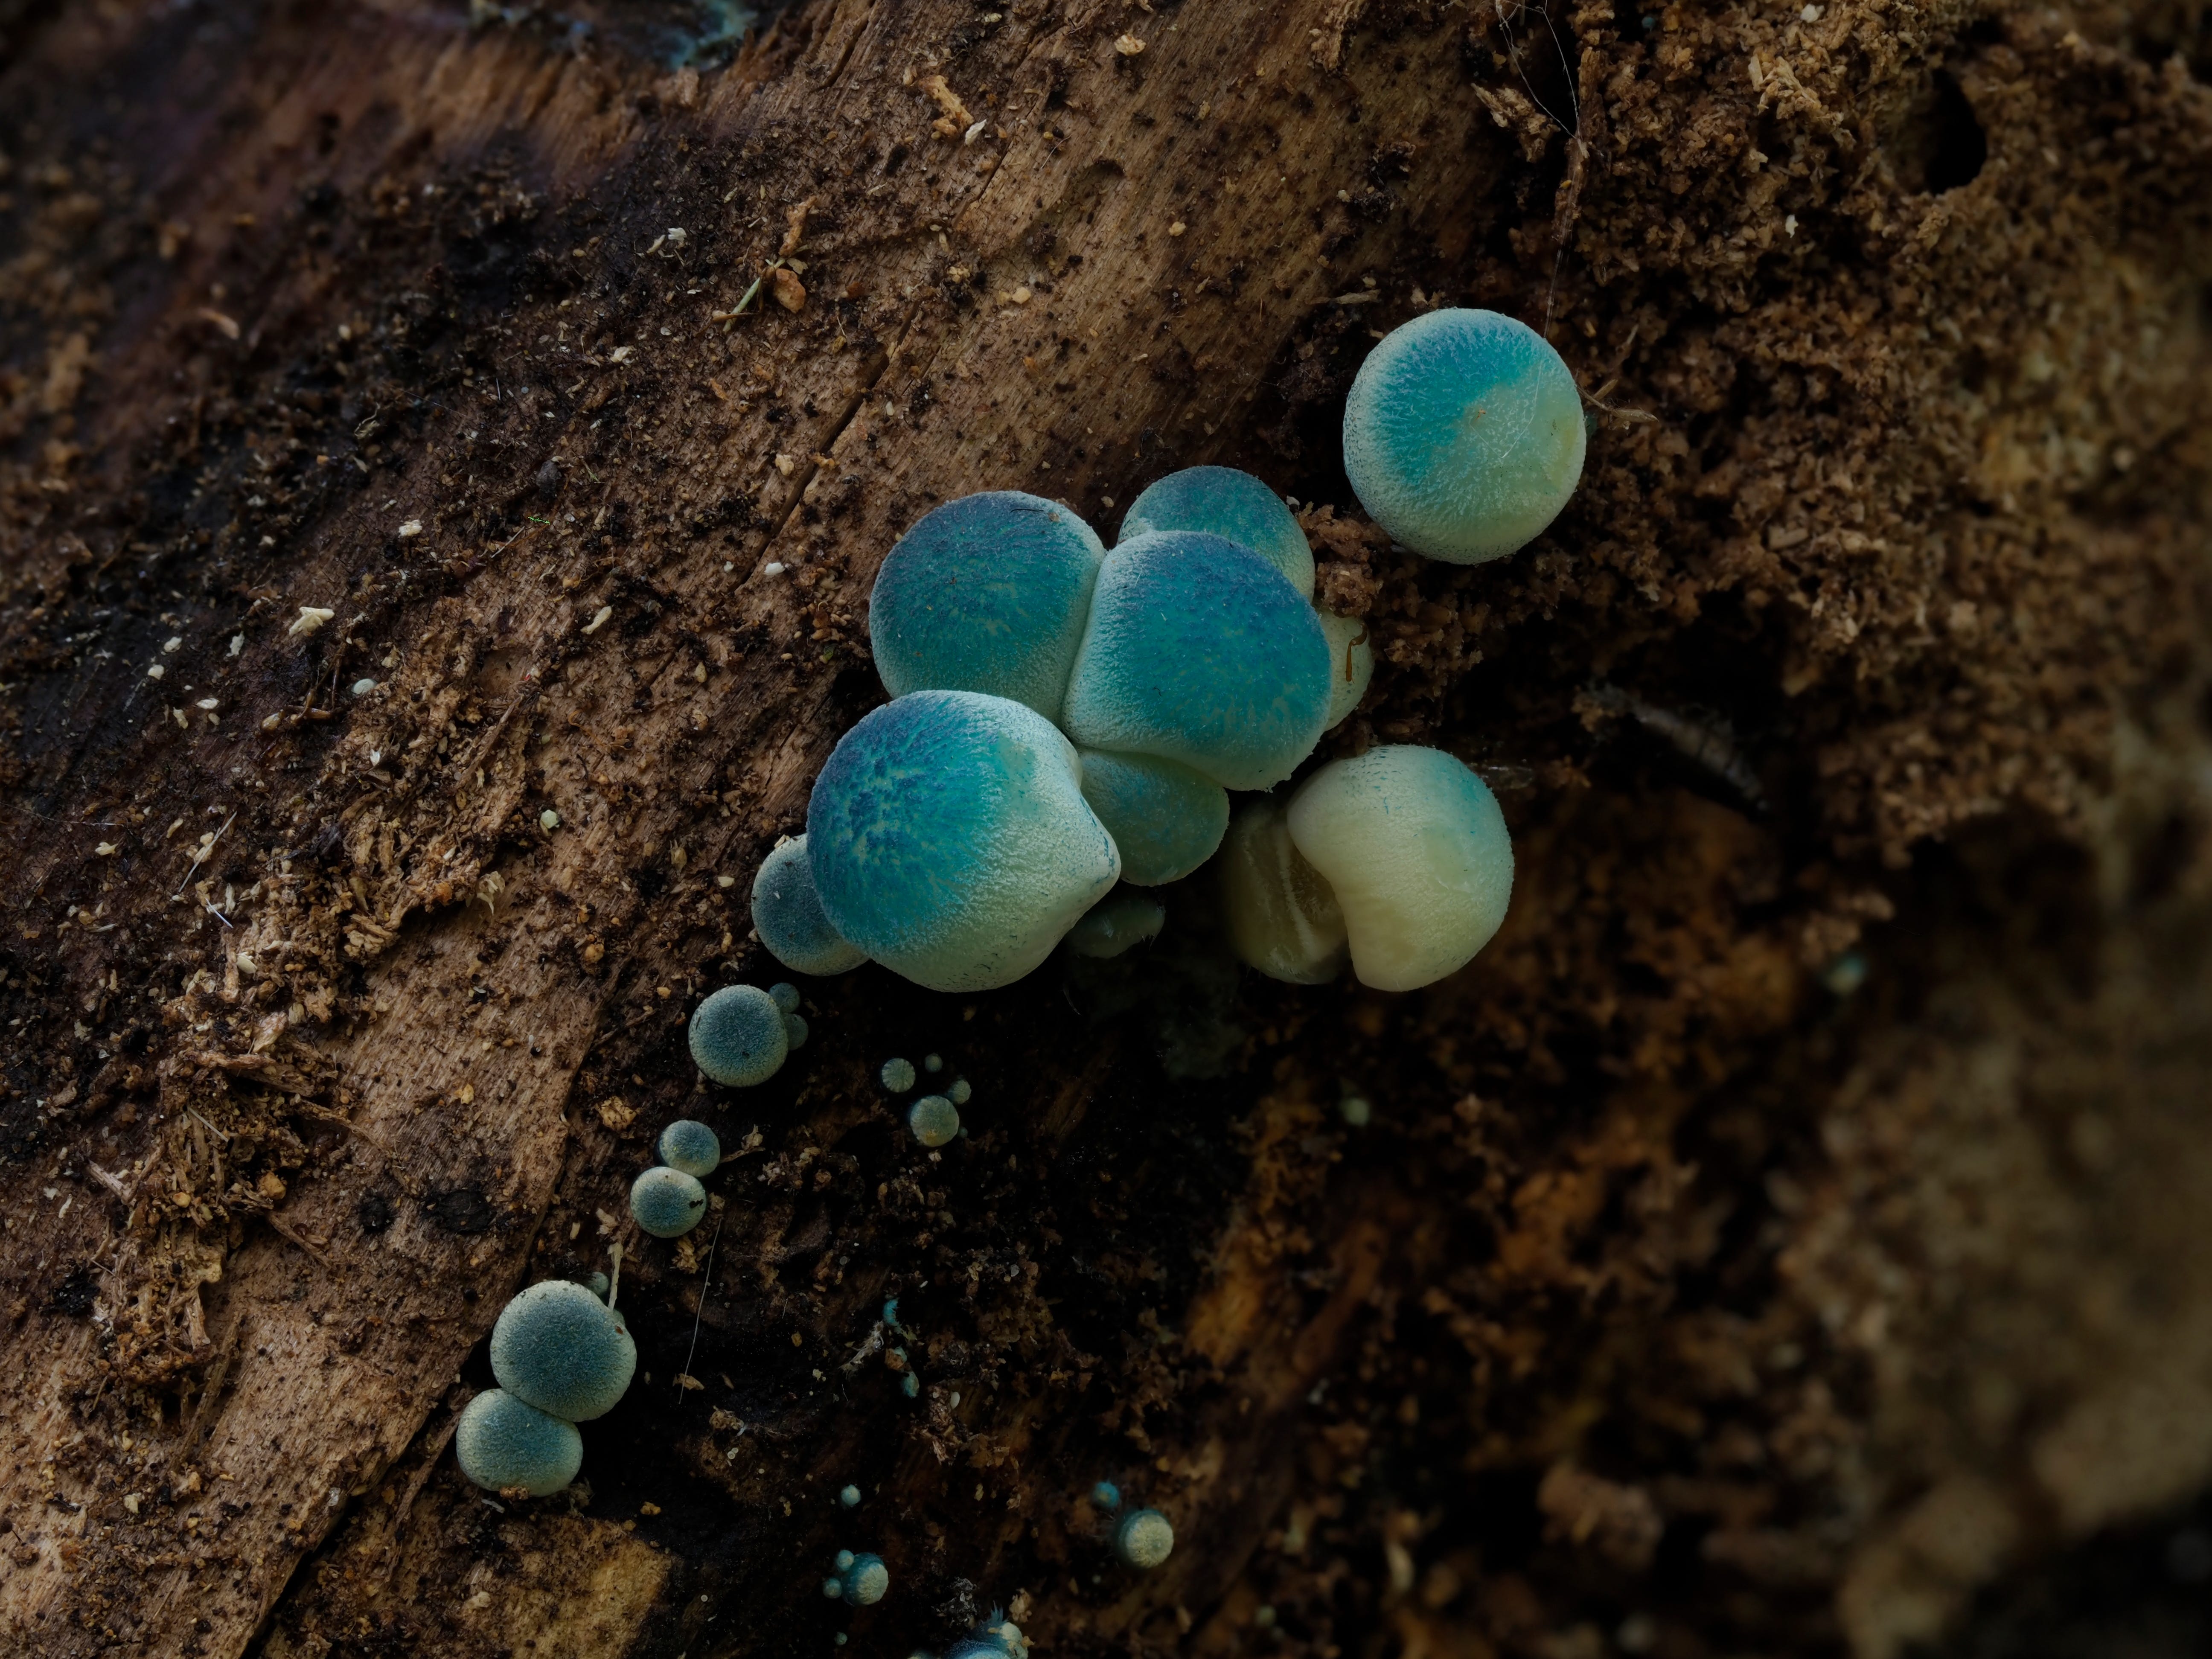
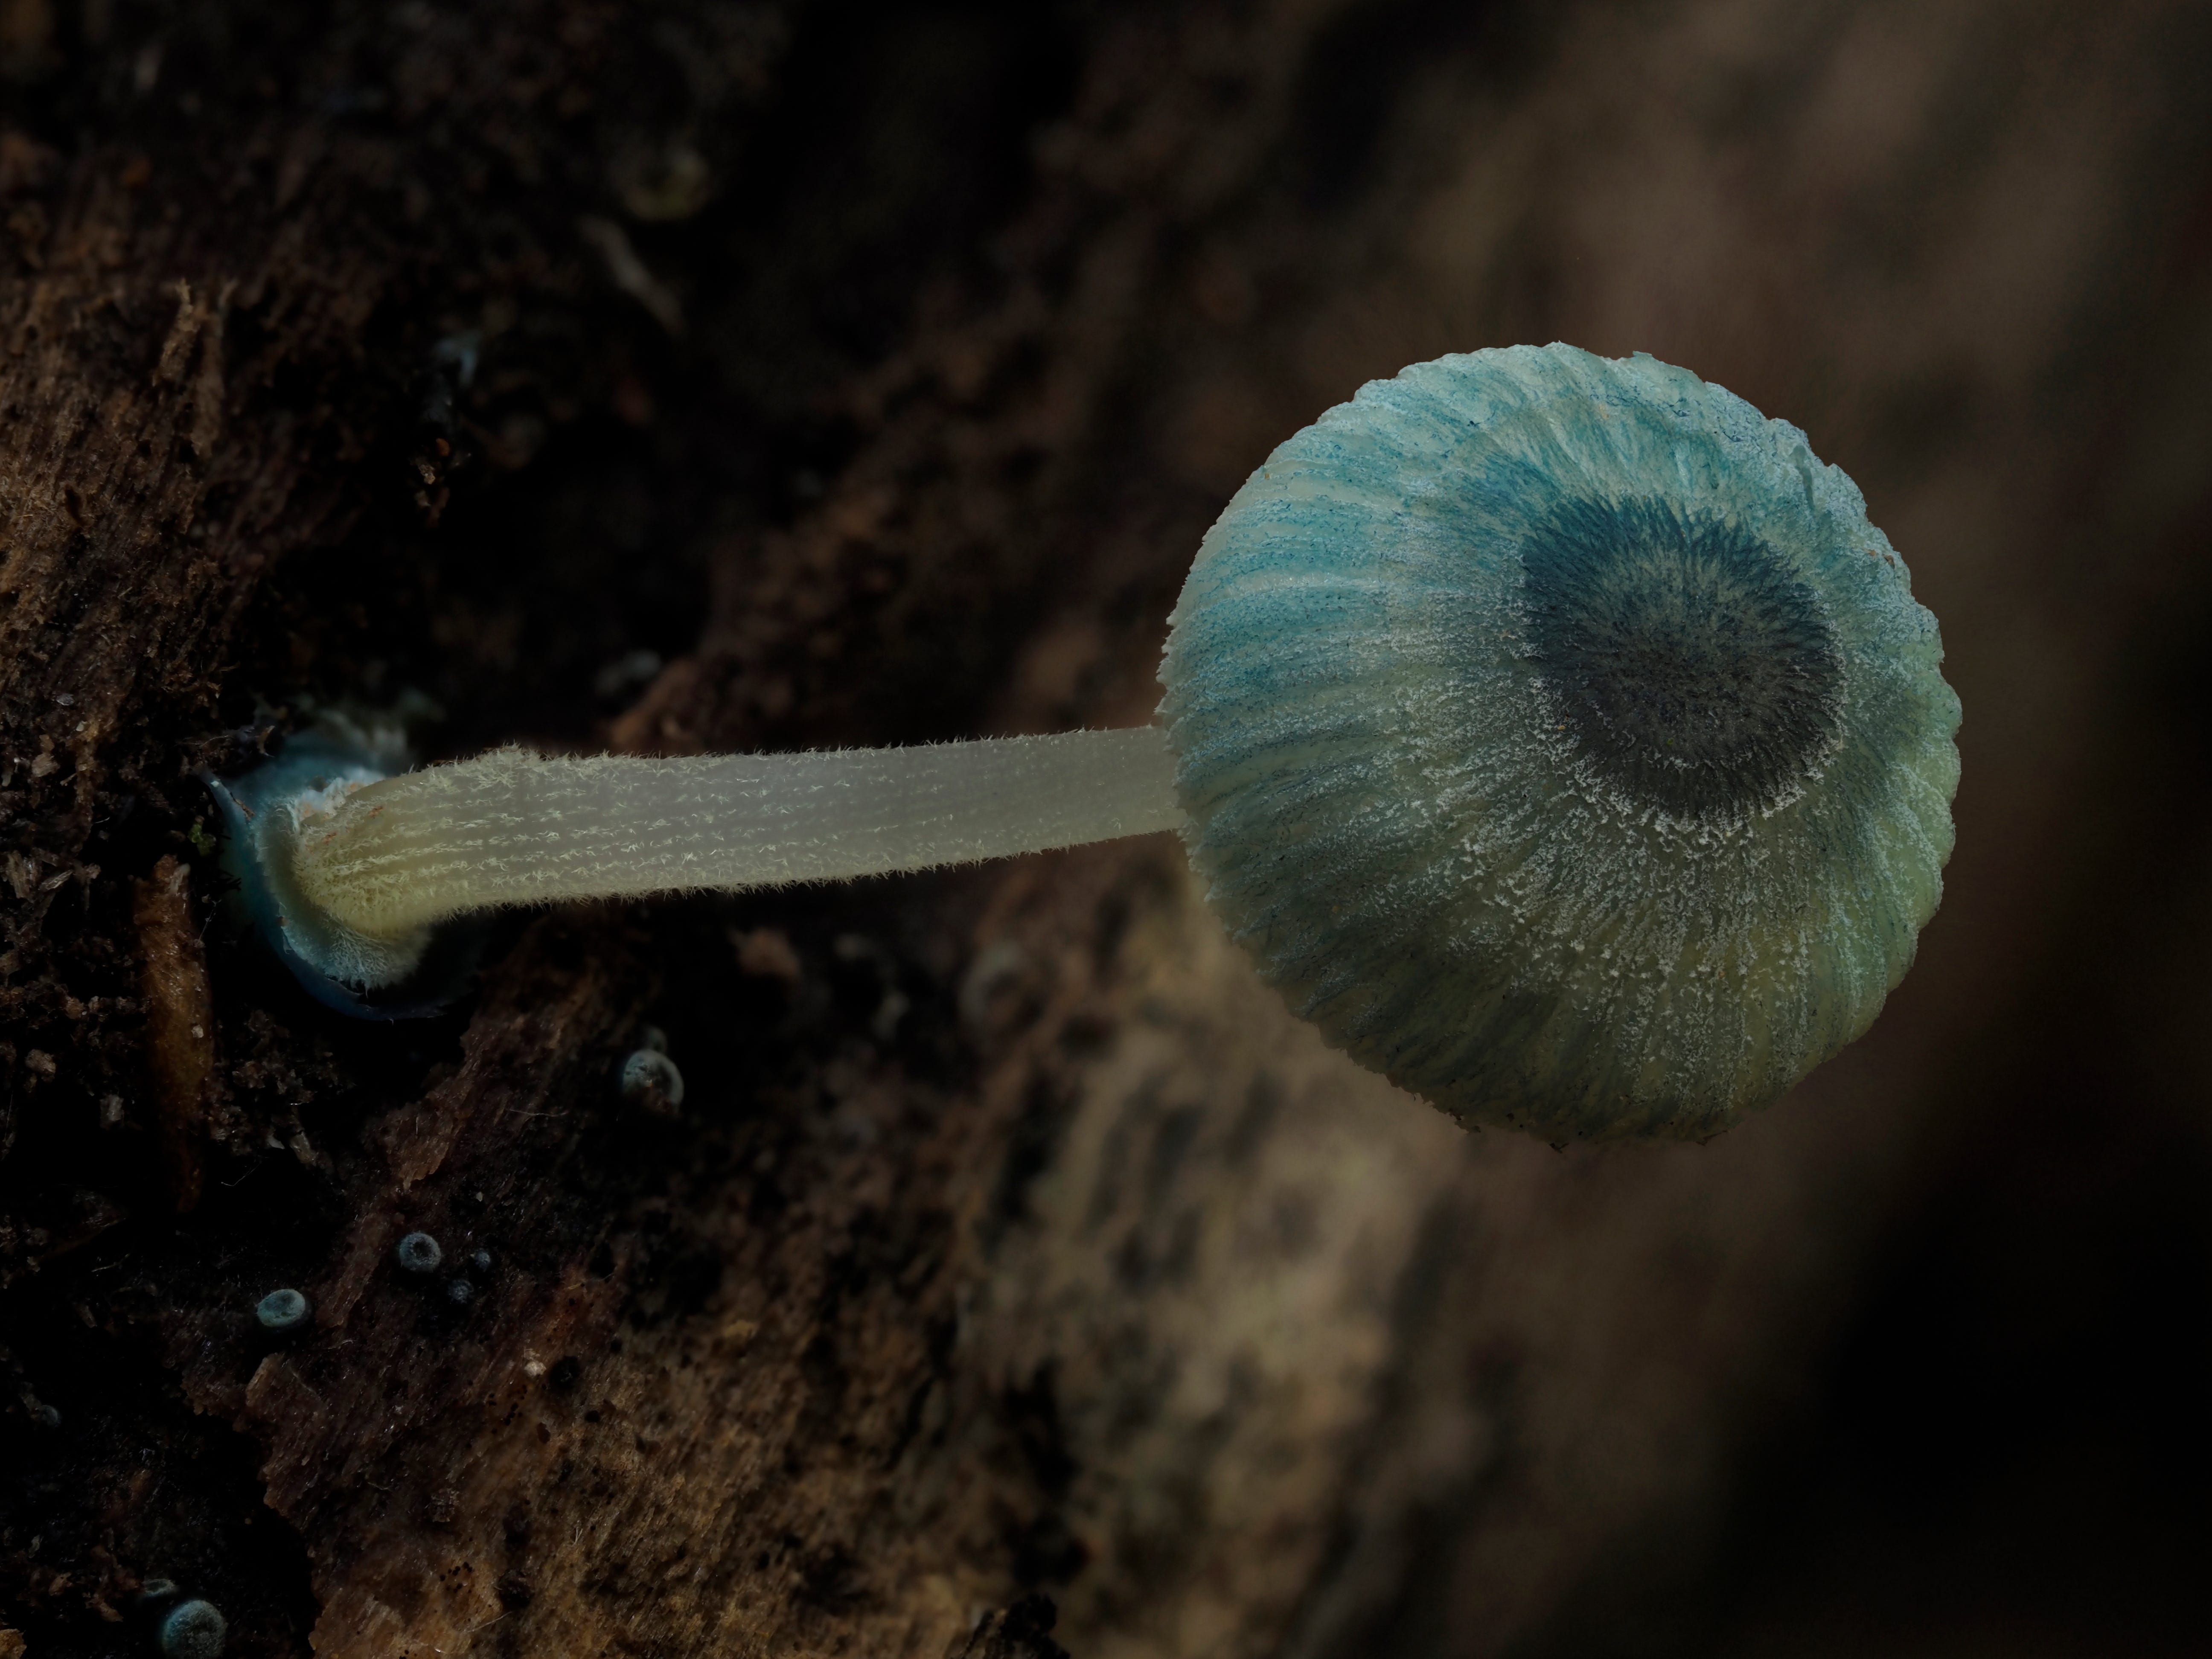
It’s been a long time since I last saw Mycena interrupta aka “Pixie’s Parasol” - one of my absolute favorites. Like the name suggests, they tend to interrupt whatever you’re doing and demand your full attention. This time was no different, and I probably spent more time with them than I’d like to admit.
Since I get a lot of questions about how I photograph these, what camera or gear I use, I figured I’d take some time to walk through my process. This post is part behind-the-scenes and part gear breakdown, mainly so I can point people here the next time someone asks. Hopefully it’s useful.
Gear I Use
I shoot with an Olympus E-M5 Mark III and an M.Zuiko 60mm f/2.8 macro lens. I’ve had the camera for about three years now, the lens for almost five (it’s as good as gold!).
Occasionally, I’ll use a Raynox DCR-250 for added magnification, though that’s mostly reserved for slime molds.
I don’t have the budget to upgrade right now (though if I did, I’d probably go for the OM-1 and 90mm macro lens). But honestly, I’ve learned that getting the most out of what you already have matters more.
One piece of advice that stuck with me early on was: learn your camera. Sounds obvious, but letting those three words sink in really changed how I approached photography. That learning comes through trial, error, and a lot of bad shots that don’t make it to Instagram (or here).


Why This Camera Works for Me
The main reason I use this setup is the focus bracketing feature. It’s different from in-camera focus stacking.
The camera takes a series of shots at different focus points, and I stack them later using software. I used Helicon Focus for a while, then switched to Zerene (which I prefer).
Focus bracketing on OM System cameras lets you control the "differential"—basically, the distance between each focal slice. For tiny subjects, I usually set this to 1 (the narrowest).


Light Setup
I used to be a purist - only natural light, no flash, no extras, just what came through the canopy that day. But I’ve changed my approach. These days, I use a Godox TT520 II flash, a small LED cube (to fill in shadows), and a custom diffuser. Everything runs through CWB (custom white balance) set to 4800K, which pairs well with my specific diffuser.


Light takes some adjusting. I usually shoot test images and check the screen to see how the shadows and colors are coming through. If one side looks too dark, I’ll move the LED cube nearby and set it to 2–10% brightness depending on ambient light.
Because the flash needs time to recharge between shots, I set the bracketing interval to 2 seconds. Any faster, and I start getting dark frames when the flash misfires.
I also set the ISO to 200 or Low to reduce noise.


The Process
Most stacks consist of 25–75+ shots. When things go smoothly, the whole setup (from discovery to final image) takes about 5–10 minutes.
When I include my finger or a coin for scale, I usually shoot a single frame at a higher f-stop (f/7–f/9) with at least 1/20 sec shutter speed. For coins, I use whatever’s local, which has become a habit and I think a nice touch!
To reduce light halos or background clutter, I use a piece of black velvet or just put my backpack behind the subject.


And lastly, one bit of gear I can’t live without now: a macro clamp with a heavy magnetic base and two metal bendable arms. It holds twigs or leaves at the right angle so I’m not hunched over or trying to balance gear in weird positions.
That’s pretty much it. I'm always refining this process, and I don’t think it’s perfect (but it works for me). If you’ve got any more tips, I’m all ears! Feel free to share in the comments.
And if this helped or you want to support what I’m doing, consider becoming a paid subscriber. You’ll get a limited-edition mushroom print delivered to your inbox each month, access to interesting foray recaps, and help me slowly save toward that camera upgrade too ;)
And before I forget, if you’d like more photography tips, check out Macro Magic: Insider Tips for Subscribers.
Wow!!!! I’d missed this post. Just discovered it while I was meandering around trying to remember how to send messages. Stunning work. So much work! But such impressive results.
I recently went to Borneo with a group of photographers. (I went as an artist). And watching them taught me so much. Reading this post now means so much more as a result. Thanks so much for sharing your techniques. I am so in awe of the results. 🤗🤗