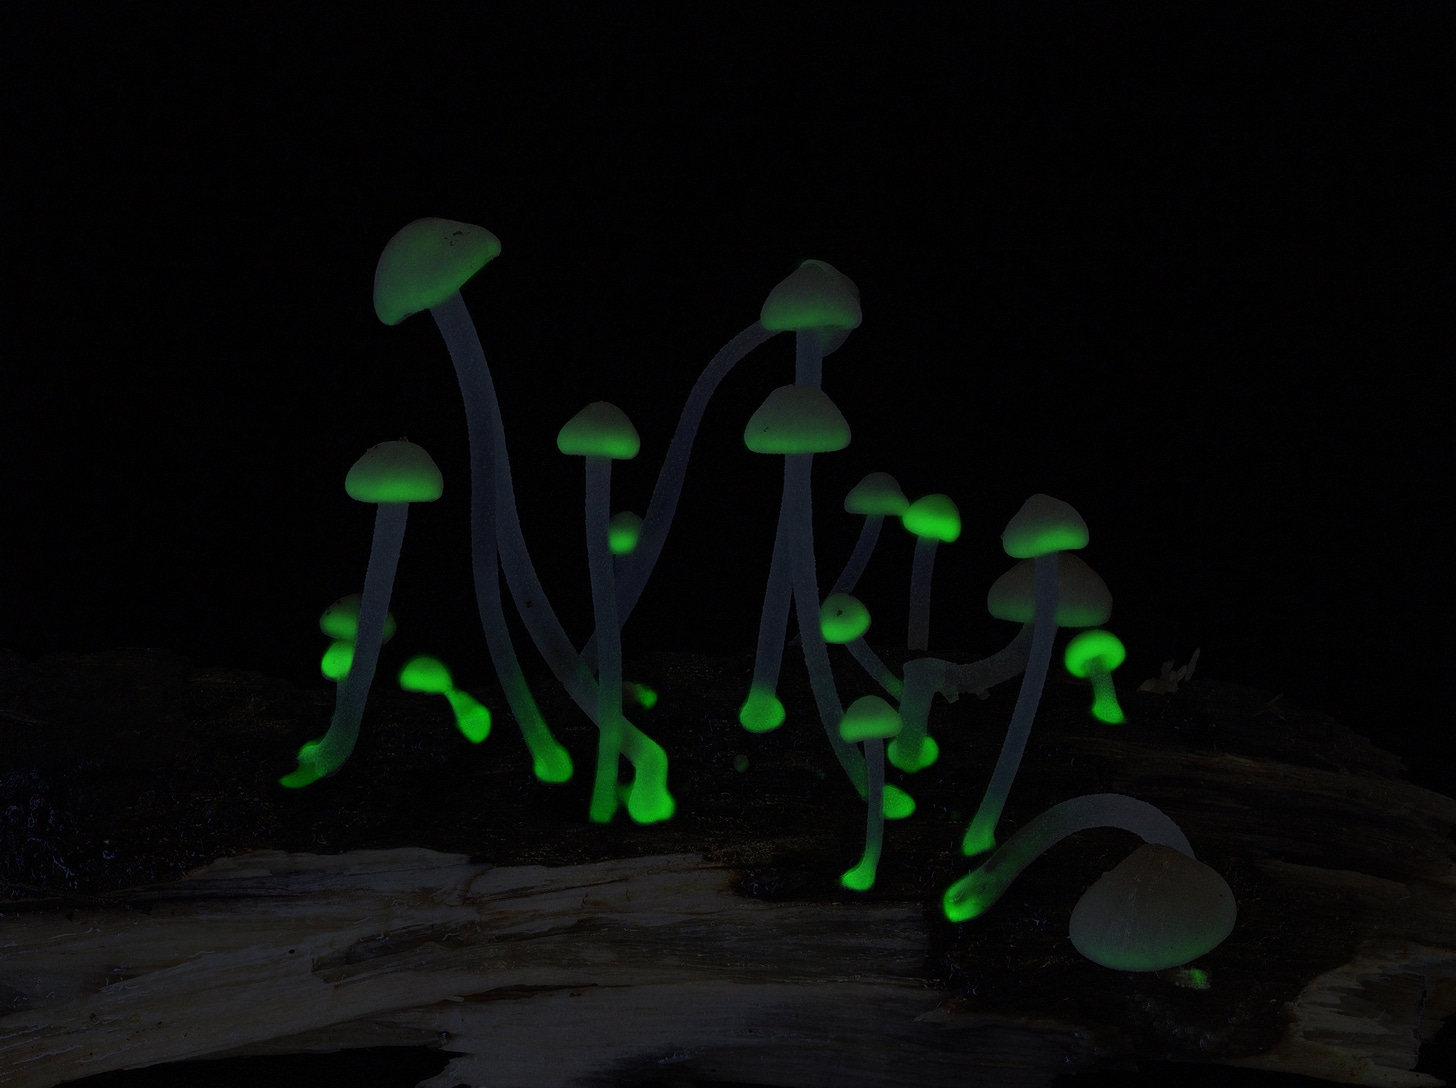
How to Capture Bioluminescent Mushroom Photos: A Comprehensive Guide
This guide will teach you how to take stunning long-exposure photos of bioluminescent mushrooms in complete darkness.
Sometimes capturing the perfect photo is just a result of being lucky. You’re in the right place at the right time. Photos turn out beautiful when the proper lighting is applied, whether it be natural or artificial. But how can you get a decent shot of your subject when there isn’t any light source at all?
If it’s your first time attempting to take photos of bioluminescent mushrooms, it can open up a whole new dimension of camera settings you never knew existed.
This can seem like a daunting task, but I hope this post can shed some light on simple steps to make taking long-exposure photos in the dark seem like clockwork.
This guide will teach you how to take long-exposure photos of bioluminescent mushrooms, even in complete darkness. We’ll cover the camera settings, equipment, and techniques needed for this unique type of photography.
Table of Contents
I would spend hours in the cold night on Stewart Island, trying…and failing, to capture glow-in-the-dark mushrooms. The last thing you want to do is spend time fiddling around with camera settings in the middle of the bush on a cold, dark, rainy night.
This post will cover some must-dos for getting your camera settings set up BEFORE venturing off into the bush at night.
My Go-To Settings
ISO 1250-1600
Aperture / f-stop (dependent on size of subject to be in focus)
+3 minute exposure (Live Time function)
Anti-shock – 8 sec.
Noise filter – HIGH
Noise Reduction – ON
IS (Image Stabilization) – OFF
Note: Depending on the size and position of the subject/s, the aperture can range and the exposure time reduced. For example, for capturing depth of field I’ll sometimes shoot for minutes, ISO 1600, at f/9 or higher.
I’ll go into further detail below as to why I use those settings, but first, let’s discuss the subject we’ll be shooting.
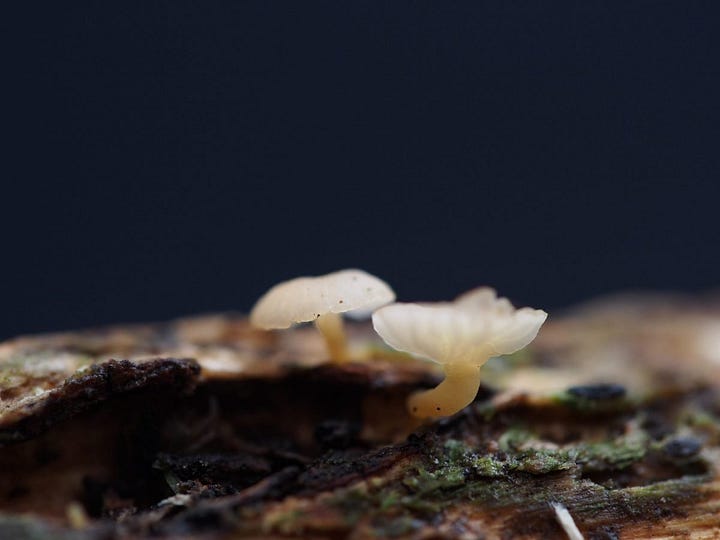
WHAT SPECIES OF MUSHROOMS GLOW IN THE DARK? AND WHAT DO THEY LOOK LIKE IN DAYLIGHT?
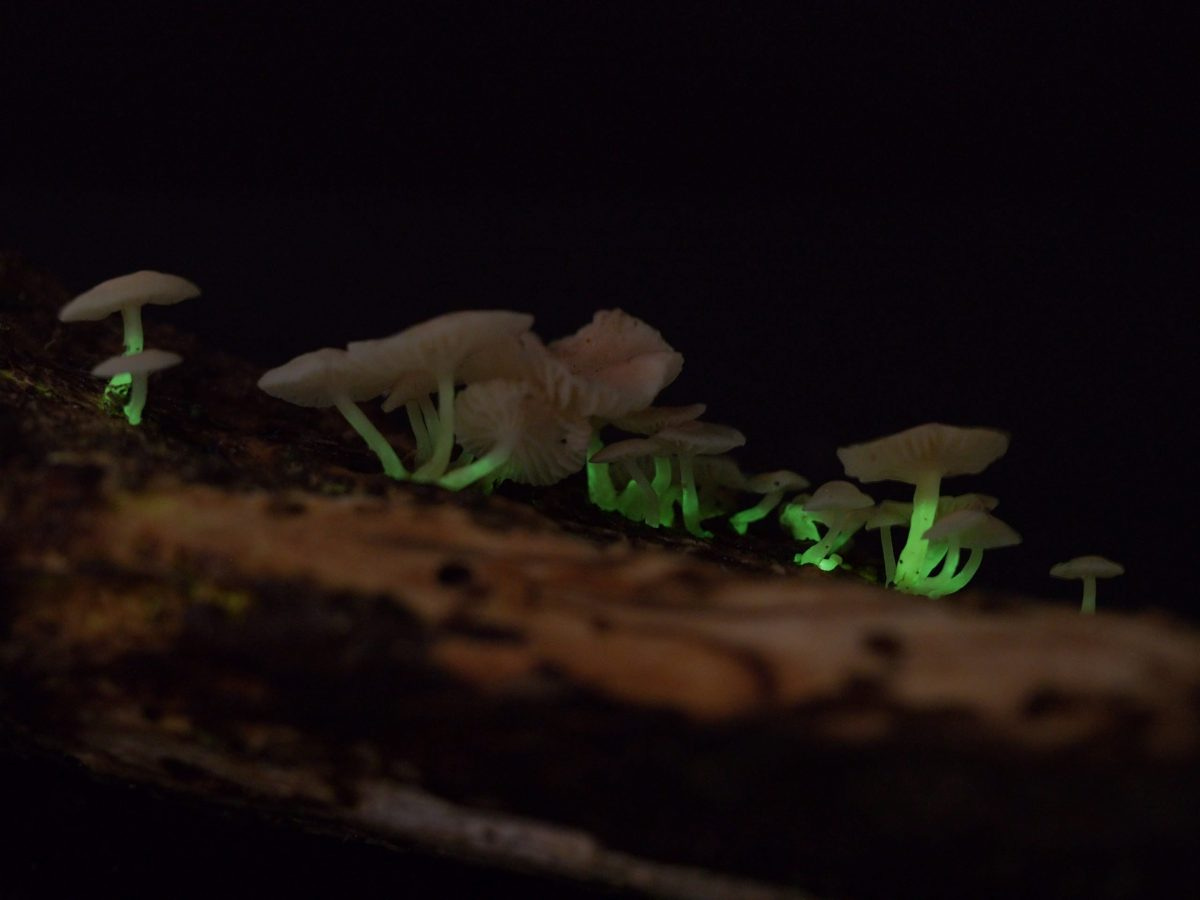
White rot fungi that break down lignin in wood are known to be bioluminescent.
This includes the most popular Armillaria / Honey mushrooms, Mycenaceae, and Omphalotus.
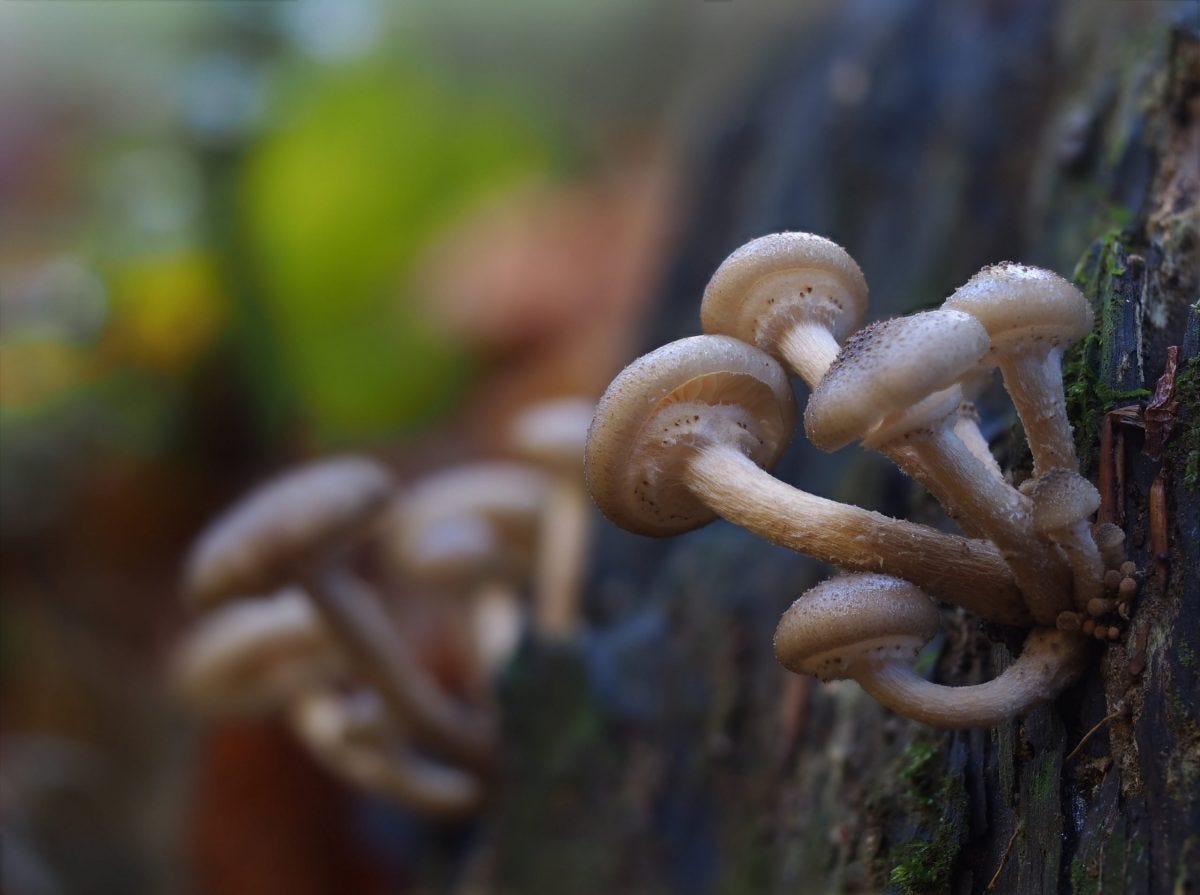
As a side note, I don’t recommend wandering aimlessly in the bush at night, but instead, find and identify species that are known to glow in the dark during the day, then come back out at night.
I regularly update the bioluminescent fungus species list on Wikipedia, serving as a useful reference for those interested in these unique organisms. To find similar species in your area, use iNaturalist for regional comparisons.
Over the past two decades, the number of known bioluminescent mushroom species has increased from around 40 to over 113.
This post aims to inspire individuals to photograph more glowing species, shedding light on the fascinating world of bioluminescent mushrooms.
*IMPORTANT*
Before we go any further, I would like to mention that for this to work, you must have a camera that allows you complete control over settings such as changing your aperture, ISO, and exposure time.
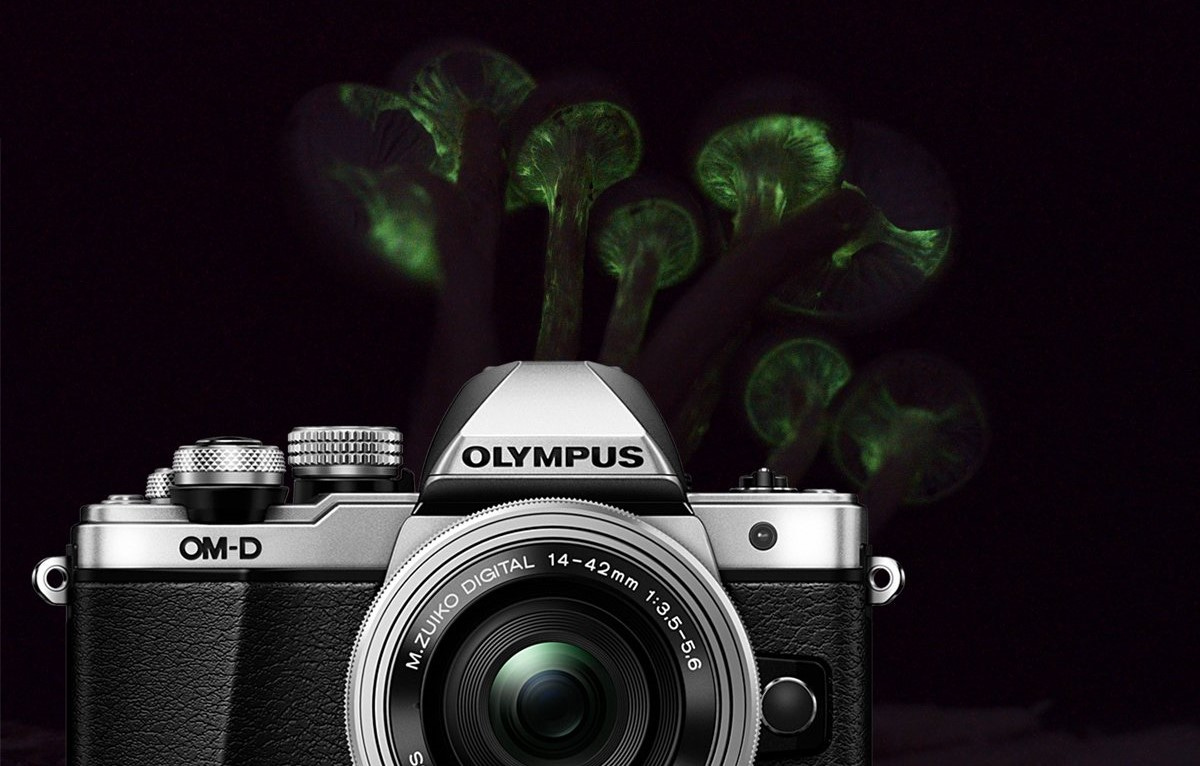
I use an Olympus EM-5 Mark III. With this specific camera, there is a LIVE/BULB Time mode that allows for long exposures for minutes. Make sure your camera can take long-exposure shots.
Steps and considerations when taking photos of bioluminescent mushrooms
1. A MACRO LENS IS RECOMMENDED
I use an M. Zuiko 60mm f/2.8 lens.
I was put onto this lens in particular because the lady who took the cover photo for the documentary Fantastic Fungi mentioned she used it, and I’ve heard many others praise this lens as being an excellent addition to their photography gear. But, essentially any macro lens will do the trick!
The f/number = how aperture is measured, so the lower the f-stop the faster the aperture.
The faster the aperture the more light that is allowed to enter your lens.
Because the goal is to absorb as much light as possible at a lower ISO, the slower the aperture, the more underexposed and noisy the photo will be.
2. ISO SETTINGS
The higher the ISO, the grainier/noisier the photo.
When it’s pitch black, you can do either one of two things.
Up your ISO to the max (i.e., ISO 12800) and set a short exposure time, or
Set a lower ISO between (ISO 1000 to 1600) and set a long exposure time (over a minute).
ISO IS JUST ONE OF THREE SETTINGS TO CONTROL YOUR SHOT; SHUTTER SPEED AND APERTURE ARE THE OTHER TWO.
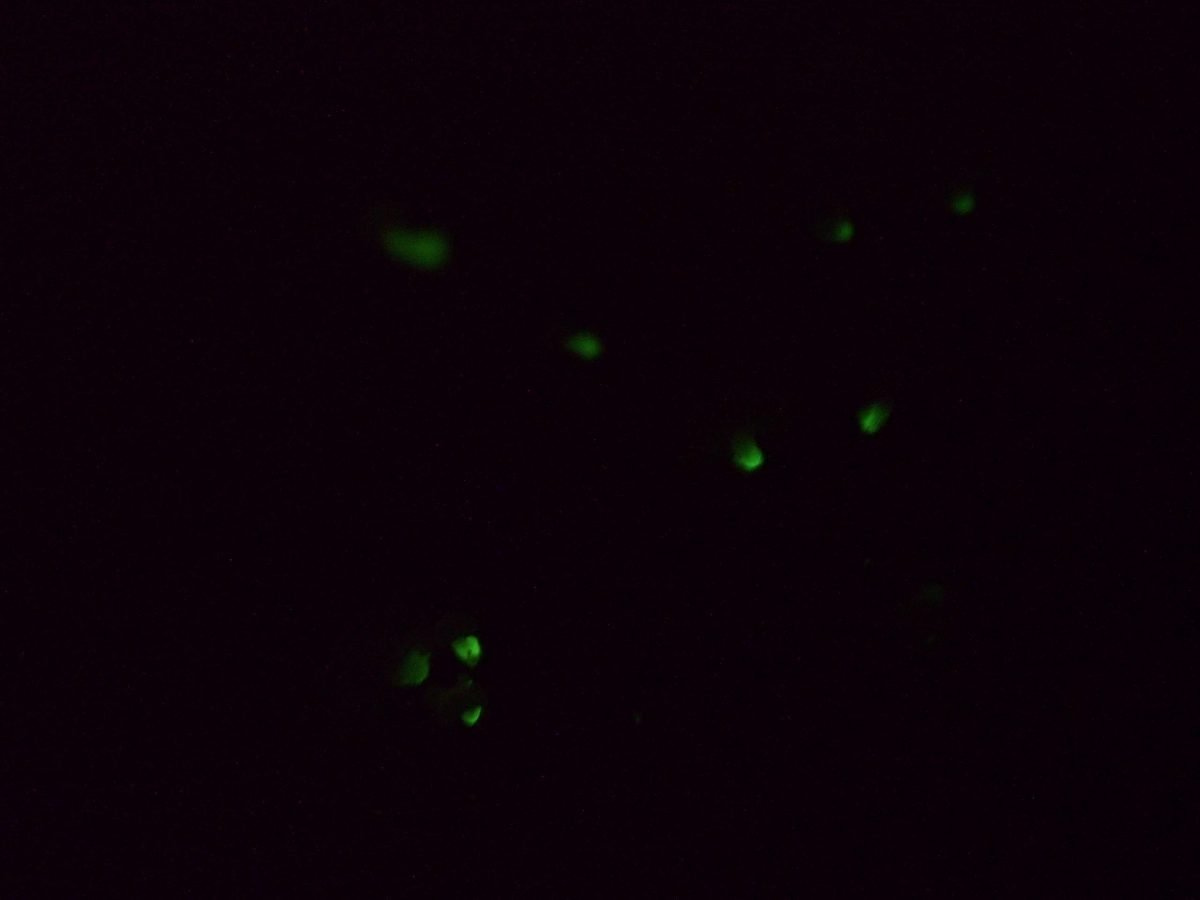
For the first ISO option mentioned above, I recommend doing this as an initial test to detect if the subject is indeed glowing at all. If you have multiple specimens, you can put them in a container and just shoot the entire container in one go to detect if any of them emit light.
Instead of waiting around for your eyes to fully adjust to witness the bioluminescence, let the camera be your eyes for the time being.
Albeit, the quality of the photo will not be as sharp as the second ISO option. You can see spots on the mushroom/s and readjust your composition to take a longer shot with a lower ISO.
Note: Some mushroom species that appear to be prime candidates end up not emitting any light at all.
If they do, they don’t emit light in the entire stipe or cap, or there are smaller undetected growths in the mycelium and smaller emerging mushrooms that overpower the composition with their brightness. It can all be pretty variable.
3. USE A TRIPOD
I reckon this goes without saying, but I figured I’d add this in here anyway. Using a tripod is good practice, both for nighttime and daytime photography.
I have an Ulanzi MT-20 tripod that’s portable and easy to carry. Given that most mushrooms are on the ground, I find using a smaller tripod to be practical and a cheaper alternative.
Using a tripod prevents any shake that may muck up your shot. I’ve made the mistake of bumping into mine towards the end of an 8-minute exposure. (-‸ლ) Very Sisyphean! Once again, patience is a must, and so is a tripod.
4. MF (MANUAL FOCUS) + TORCH
Use MF (Manual Focus).
Attempting to shoot in AF (Auto-focus) simply doesn’t work when it’s pitch black out. Your camera will constantly try to focus on a subject that it can’t see!
Bring a torch with you to shine a light on your subject.
Use manual focus to get it as focused as you can.
If your camera has a magnify and/or focus peaking function, this is an added bonus to ensure your focus is at its sharpest and spot-on.
5. TAKE A “DAYTIME” PHOTO
When you have your shot all lined up and in focus, take a “daytime” photo. I do this for two reasons:
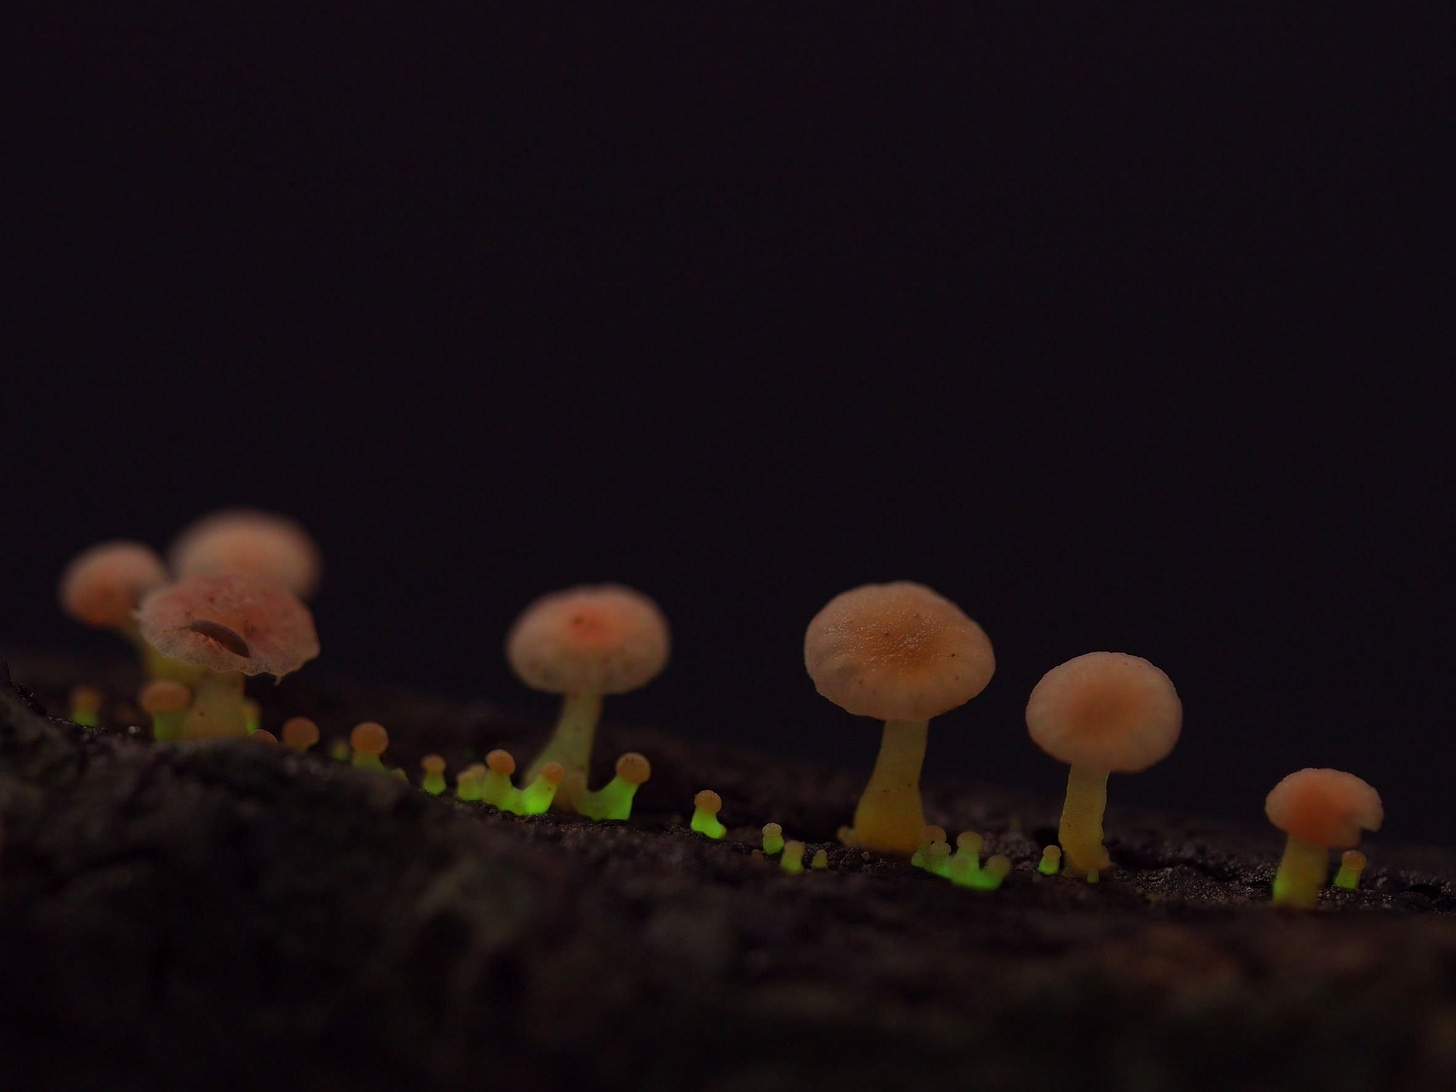
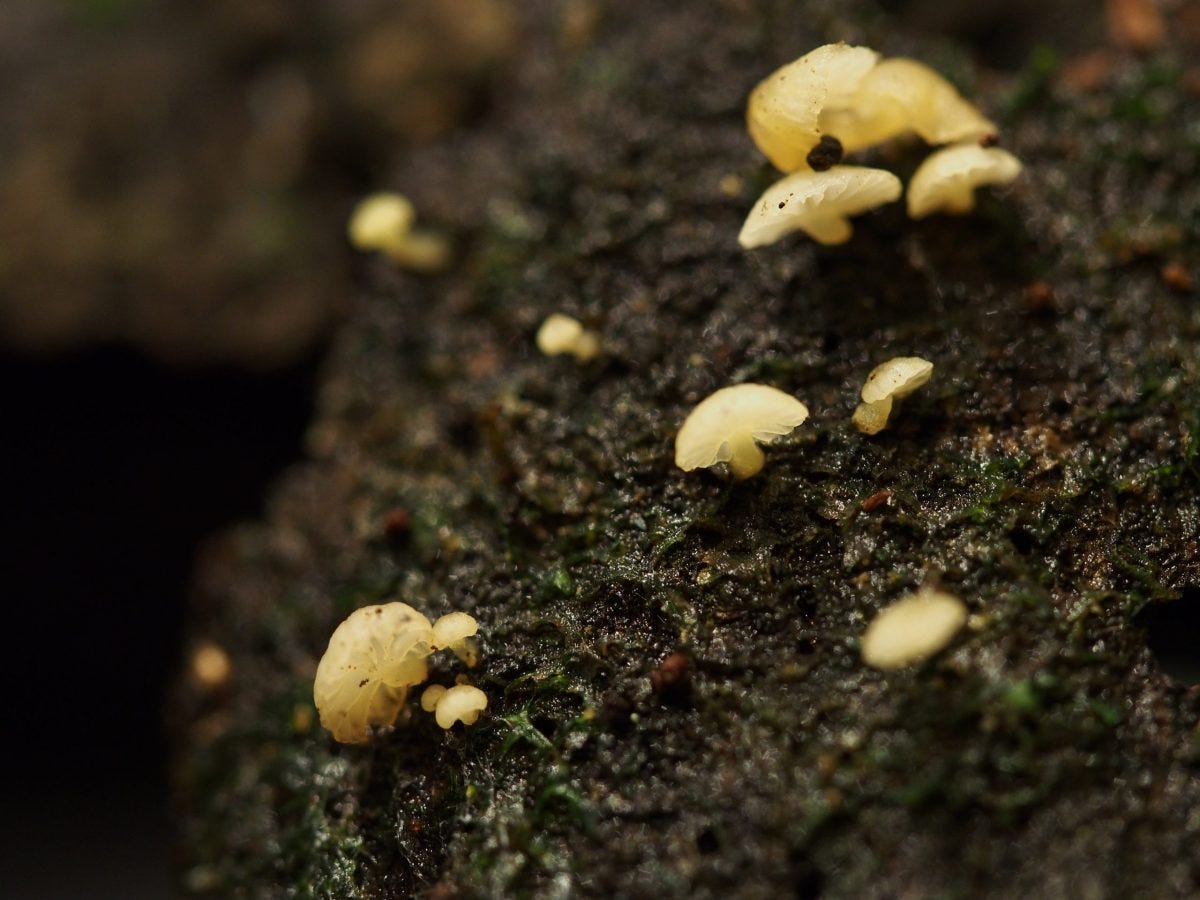
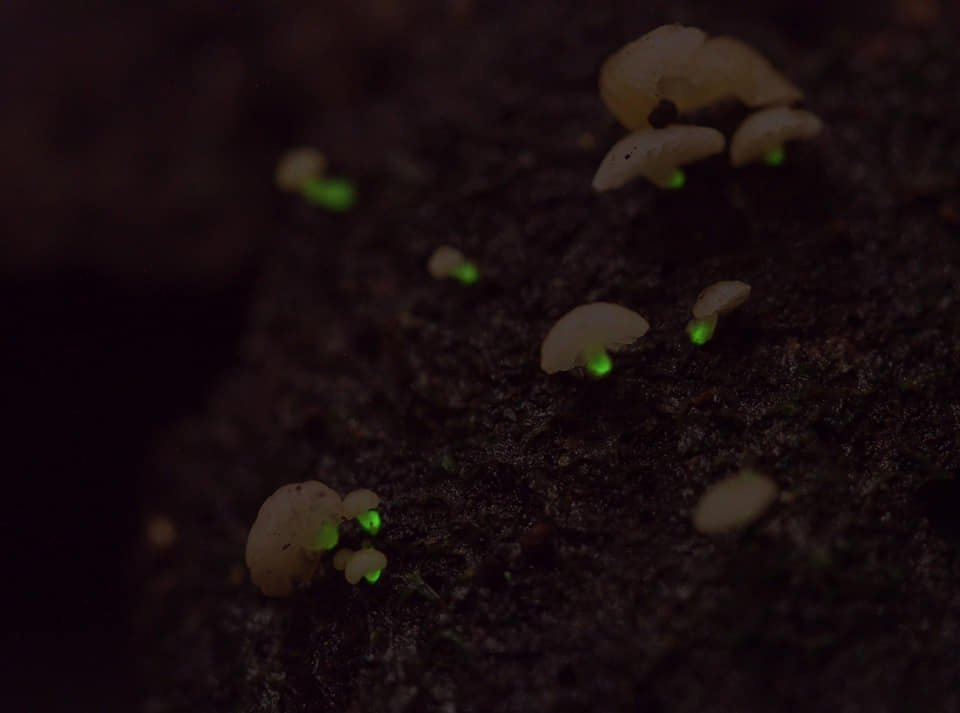
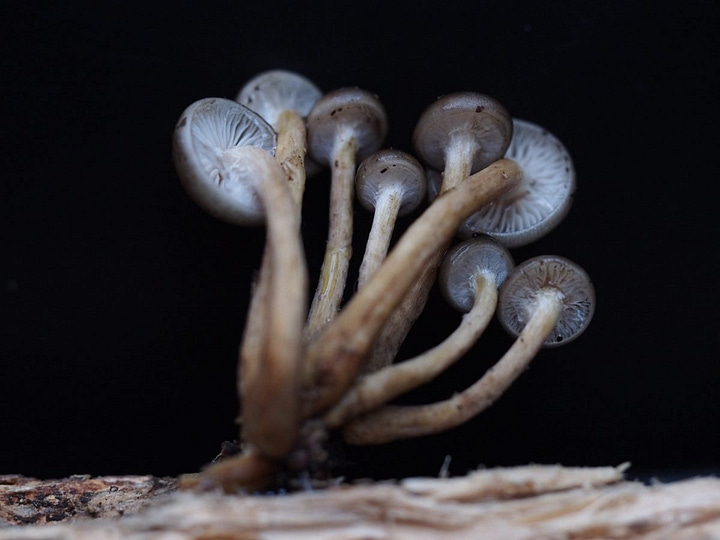
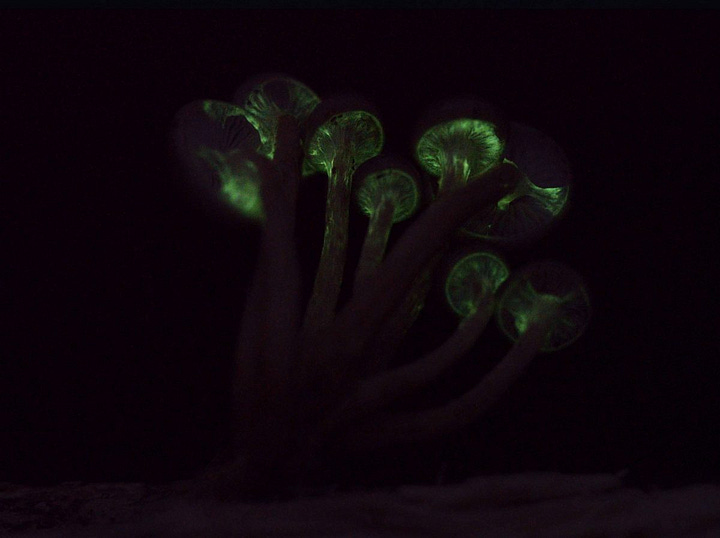
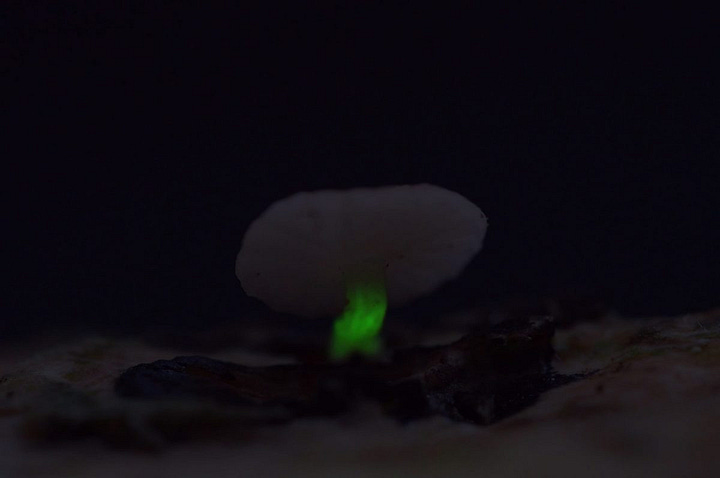
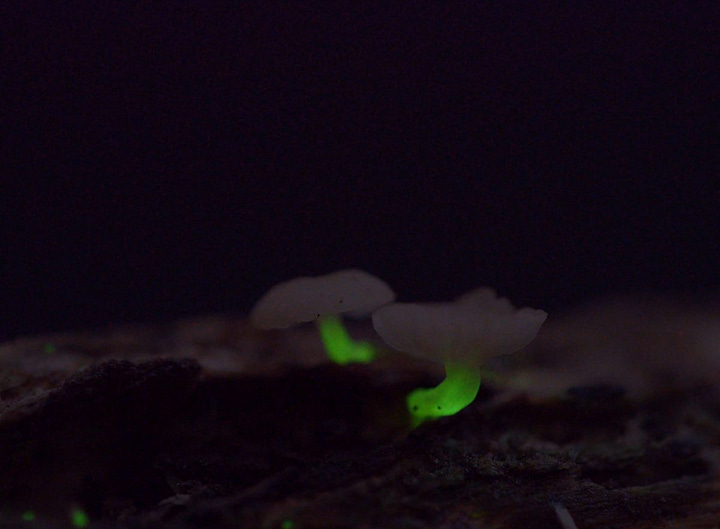
It’s nice to show before and after photos of the mushroom/s (on vs off).
It’s a must to have a daylight photo to superimpose with your bioluminescent photo in post-production in PS (Photoshop) - which is discussed more at the end.
When you take a “daytime” photo, you’ll want your ISO relatively low and your focus to be the same as your nighttime shot.
6. ANTI-SHOCK AND IS (IMAGE STABILIZATION)
Set a delayed shutter release timer if you don’t have a remote shutter.
I used to set mine at 2 seconds but have gotten accustomed to 8 seconds. I don’t feel the pressure or anxiety of worrying about any after-shake from manually pushing down the shutter button.
Anti-shock delays a shot to ensure no residual camera movement from pressing the shutter button will affect your photo’s focus and/or composition. Just remember to turn this off when you’re no longer taking long-exposure shots!
I set my IS (Image Stabilization) to OFF.
This is because, for nighttime photos, the sensor will constantly attempt to stabilize, resulting in more battery drain. This leads to electrical charges that leak into the sensor wells creating “hot pixels” – red specks in the photo. These are inevitable but can be easily removed in Photoshop or Lightroom.
7. REMOVE ALL EXTERNAL LIGHT SOURCES
When taking photos in the bush at night, going out when there is minimal moonlight (a new moon is best), or enough cloud coverage will yield better results. You can check what the moon will be using this Moon Light calculator. Light pollution has also become an issue with on-going urban development. You can check Light Pollution in your area using Dark Site Finder.
TAKING PHOTOS IN A CONTROLLED ENVIRONMENT
Another option is to use a black bin, closet, or drawer and take photos at home.
It’s easiest to take photos in a controlled environment, but this also limits the creativity of your composition compared to photos taken out in the wild.
When out in the bush at night, I had to deal with a foggy lens and dew, which rendered many of my shots useless. You don’t have this issue when you’re in the comfort of your own home.
I’m fortunate to have some bioluminescent species growing in my garden, making it a lot easier to take photos while I’m preoccupied with other things around the house. I set a timer on my phone and, when alerted, come back to pop open the lid to my black bin. The results are exciting, and I feel like a kid opening a present every time.
Before going out and collecting mushrooms, make sure to look up the legality of picking mushrooms in your area before doing so. If you decide to bring a species back home to photograph, make sure you get a bit of the wood it’s growing on, and take the photo shortly thereafter as the luminosity quickly fades.
8. EXPOSURE TIME
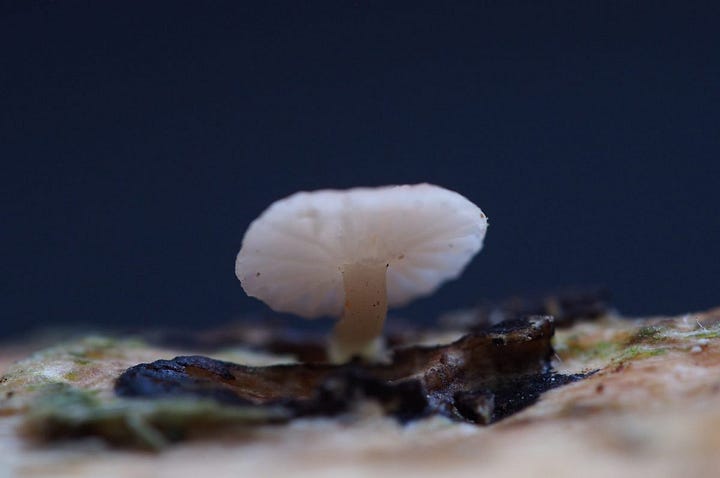
There are heaps of bioluminescent photos online, but some of them are oversaturated and misrepresentative of what you’d actually witness in the bush.
The aim shouldn’t be to spend a significant amount of time in post-production manipulating your photos but instead to have something authentic and indicative of what you’d witness with your own eyes.
I lower the ISO and aim for a longer exposure time to reduce noise (graininess).
Some cameras have noise reduction settings. I set mine to LOW, or AUTO. It may seem counter-intuitive, but it can produce hot pixels when you have the camera processing noise reduction.
It’s best to do noise reduction post-production.
For the Olympus cameras, some have “LIVE Time” and “BULB Time”.
LIVE Time essentially allows you to select a length of time (i.e., 8 minutes), set it and forget it.
BULB Time will enable you to choose the duration precisely via manually pressing the shutter button.
Given that I don’t have a remote shutter, I always use LIVE Time mode.
9. POST PRODUCTION
After you’ve taken a series of both daytime and nighttime photos, it’s time to do a bit of post-production to get the most realistic results.
When some people hear the words Photoshop or Lightroom, their eyes might glaze over, or it may seem too technical.
If you’ve managed to make it this far, the end is near, and the results of your hard work will be very rewarding!
Post-processing involves enhancing your photos with software like Adobe Photoshop or Adobe Lightroom.
This isn’t considered cheating in the photography community and nearly all bioluminescent fungi photos you see online have been post-processed (albeit some a bit too much).
Remember, you are enhancing your photos, not adding things to them.
Open both files as separate layers on Photoshop.
Stack both dark and light versions of your photos.
Adjust the opacity of the layer as you see fit.
In the layers panel, adjust the opacity so it’s slightly transparent allowing some of the background detail from the daytime photo to come through.
There are various Noise Reduction filters also available on PS. For the hot pixels that I found present in my photos, I favored the “Dust & Scratches” option (under the Filter > Noise). Another option is to use software like TopazAI.
And voila! You’ve taken a bioluminescent photo, which I hope will just be the beginning of many more to come. I hope this post was somewhat useful and that it has inspired you to take more long-exposure photos.


