

Shooting B&W: A Photo Story of Discovery
Learn how I used Adobe Camera Raw to build a mushroom-hunt photo story by placing tones, adjusting color, and moving between wide forest shots to intimate close-ups.

I’ve just started a photography course here in New Zealand, and I’ll be posting some of my assignments to keep track of what I’m learning (and so you can try them yourself).
Lately, I’ve been using Adobe Camera Raw (ACR), Photoshop’s go-to RAW editor. Shooting RAW takes more disk space than my usual large super-fine JPEGs, but ACR gives you total control over tone, color, and detail without ever touching your pixels.

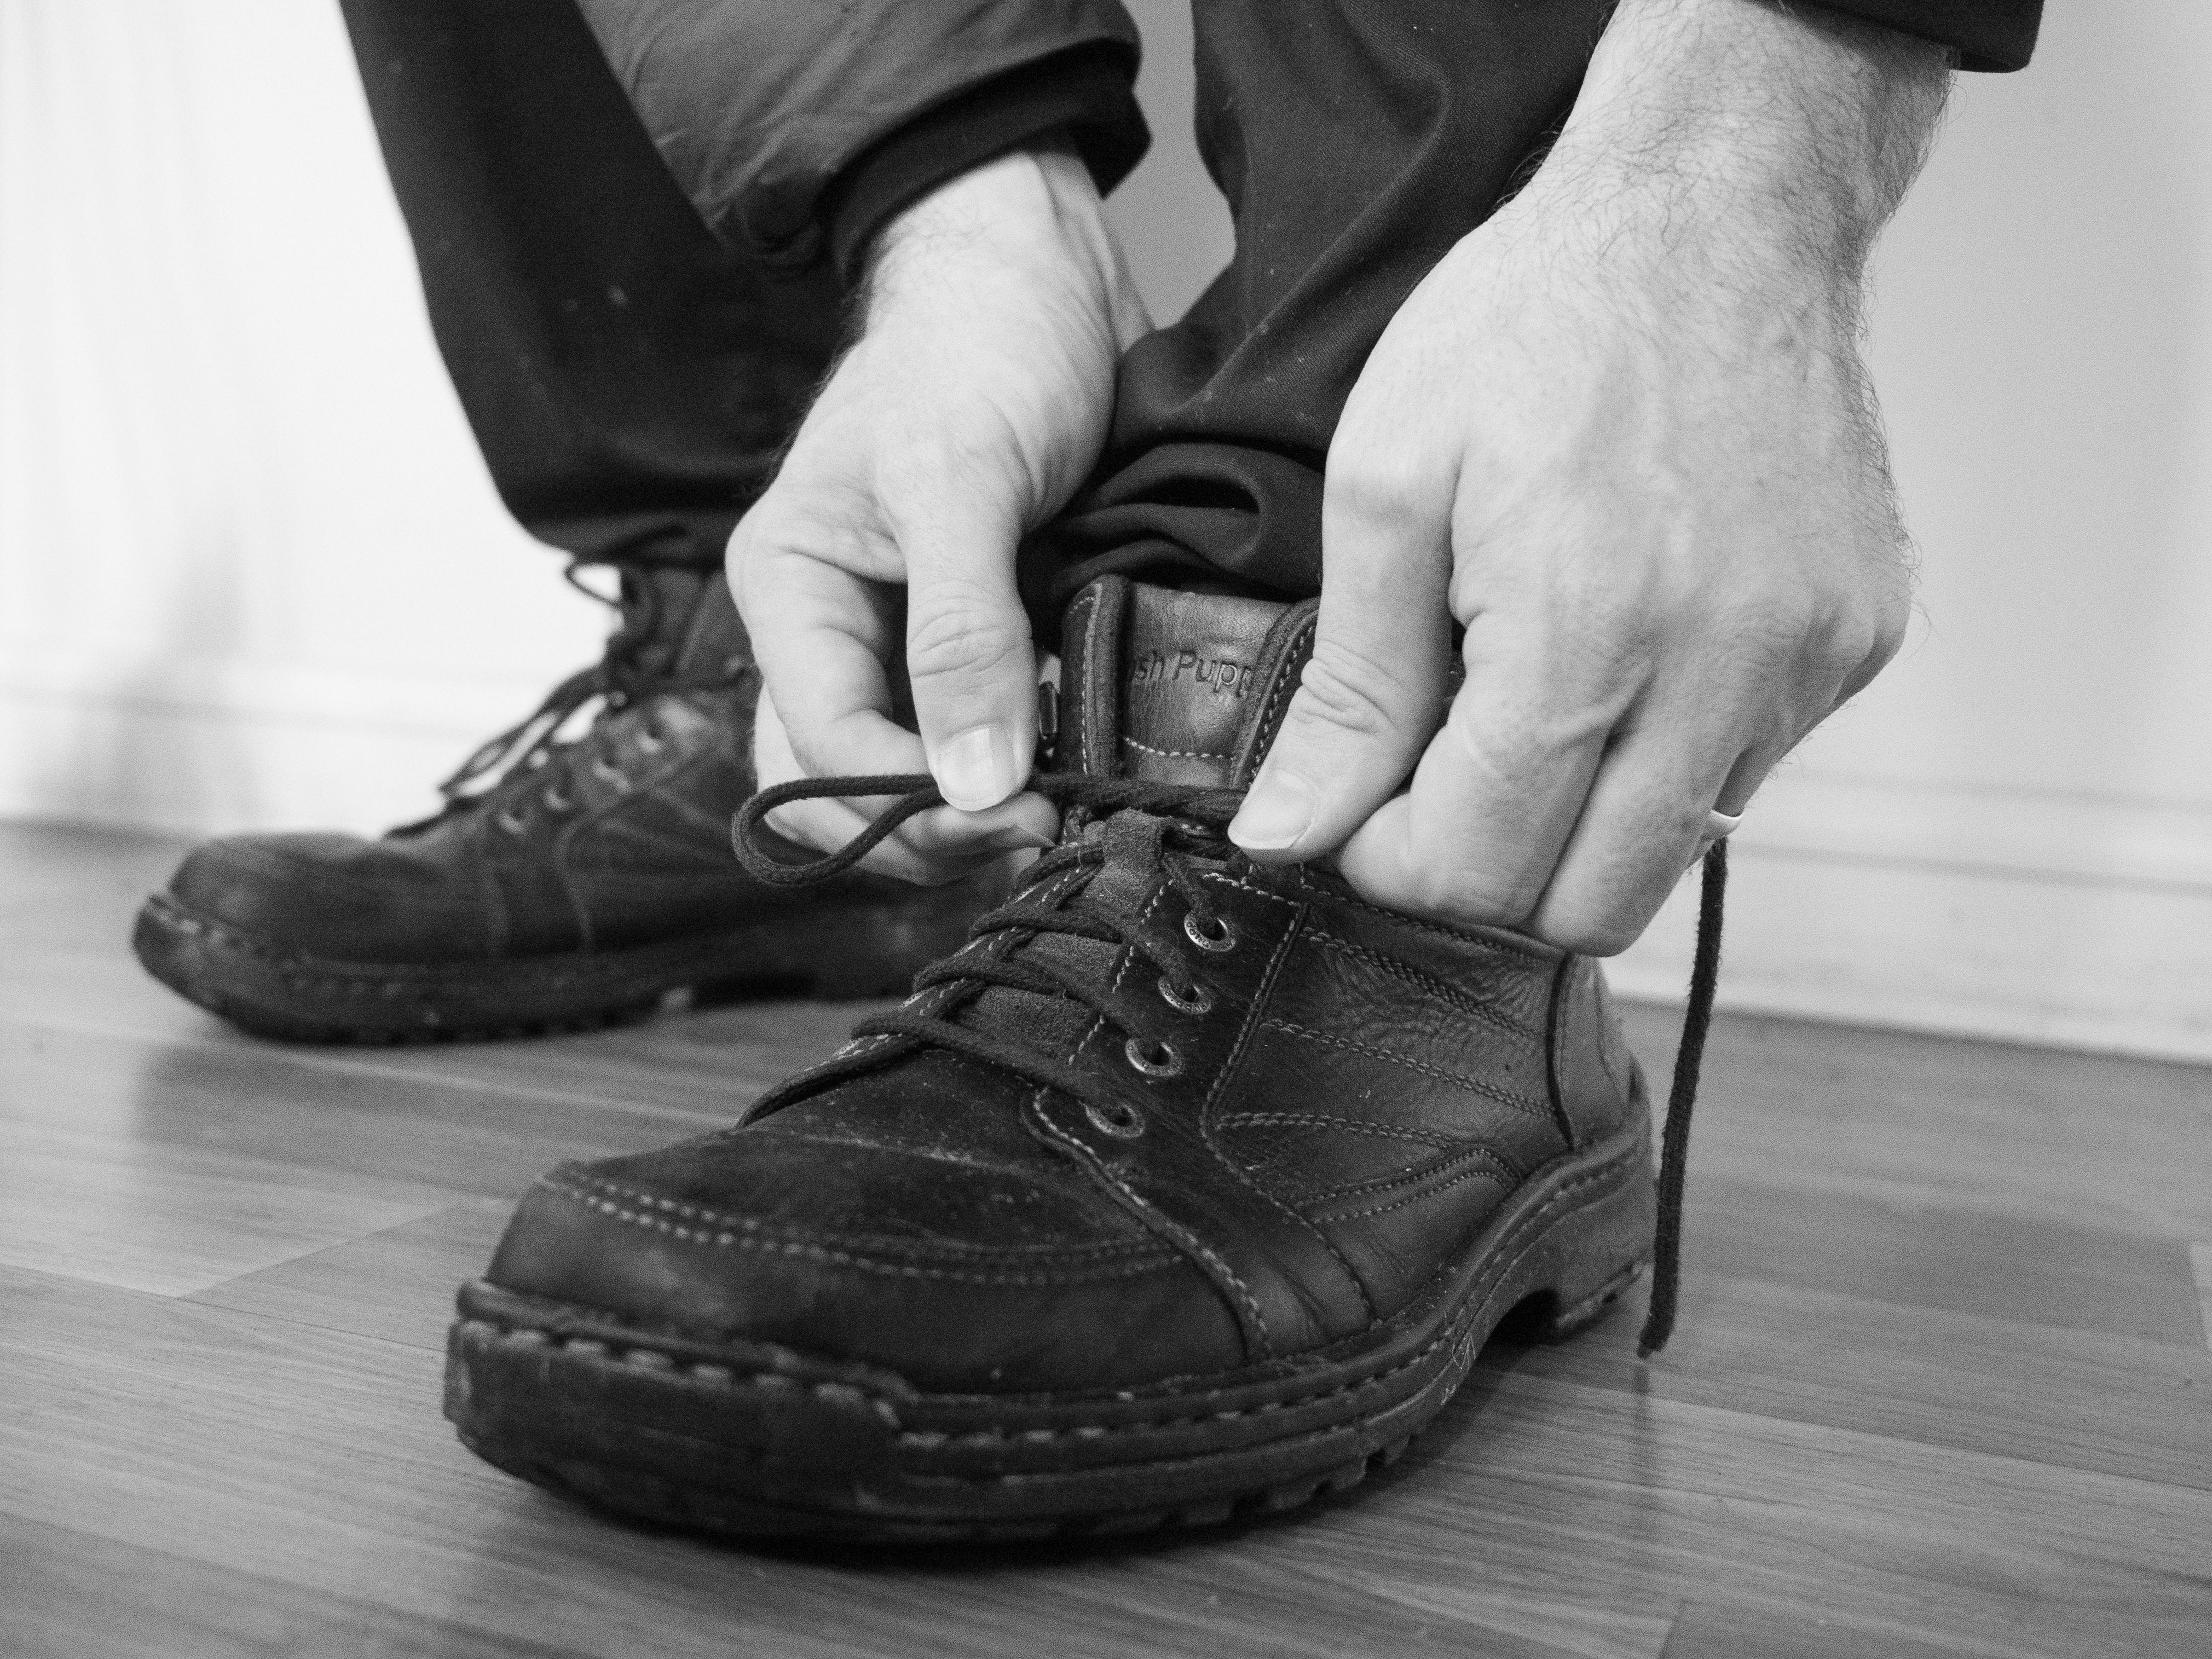
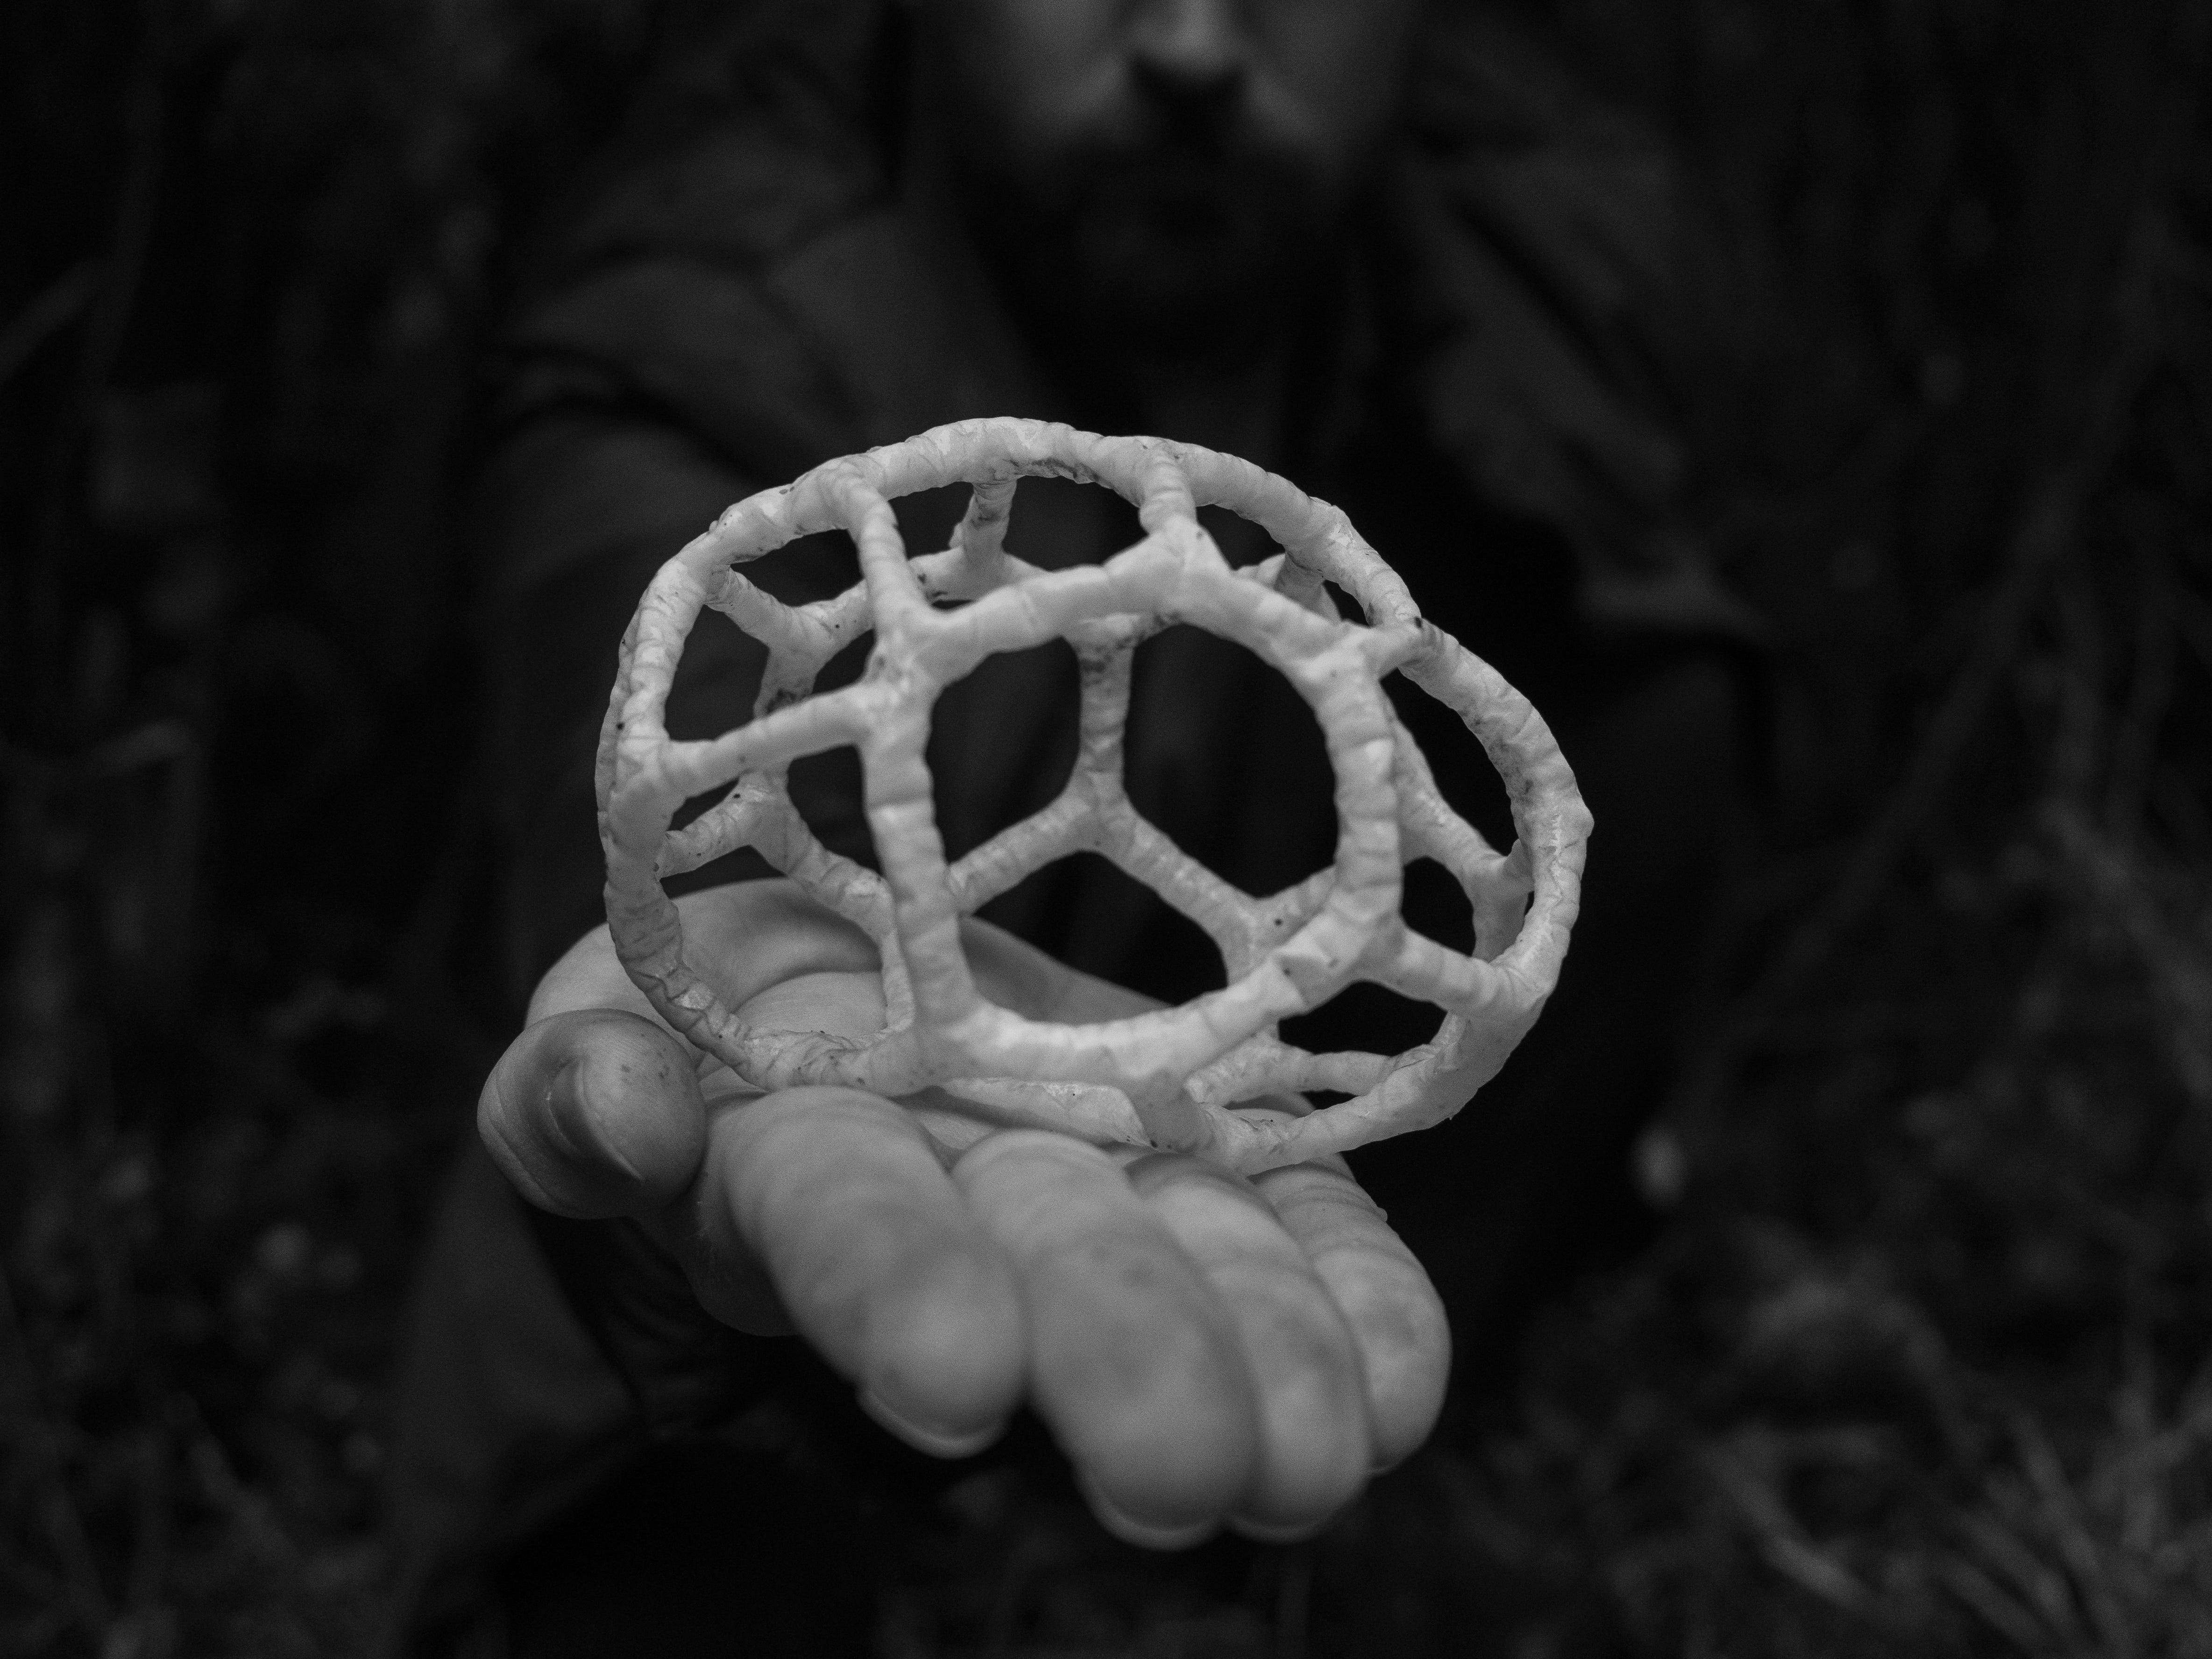
For my latest assignment, “A Day in the Life of…”, I picked a white basket fungus and built a six-shot story in black and white (something new to me and a bit of a challenge).
Along the way, I rediscovered that narrative framing matters just as much as macro detail.
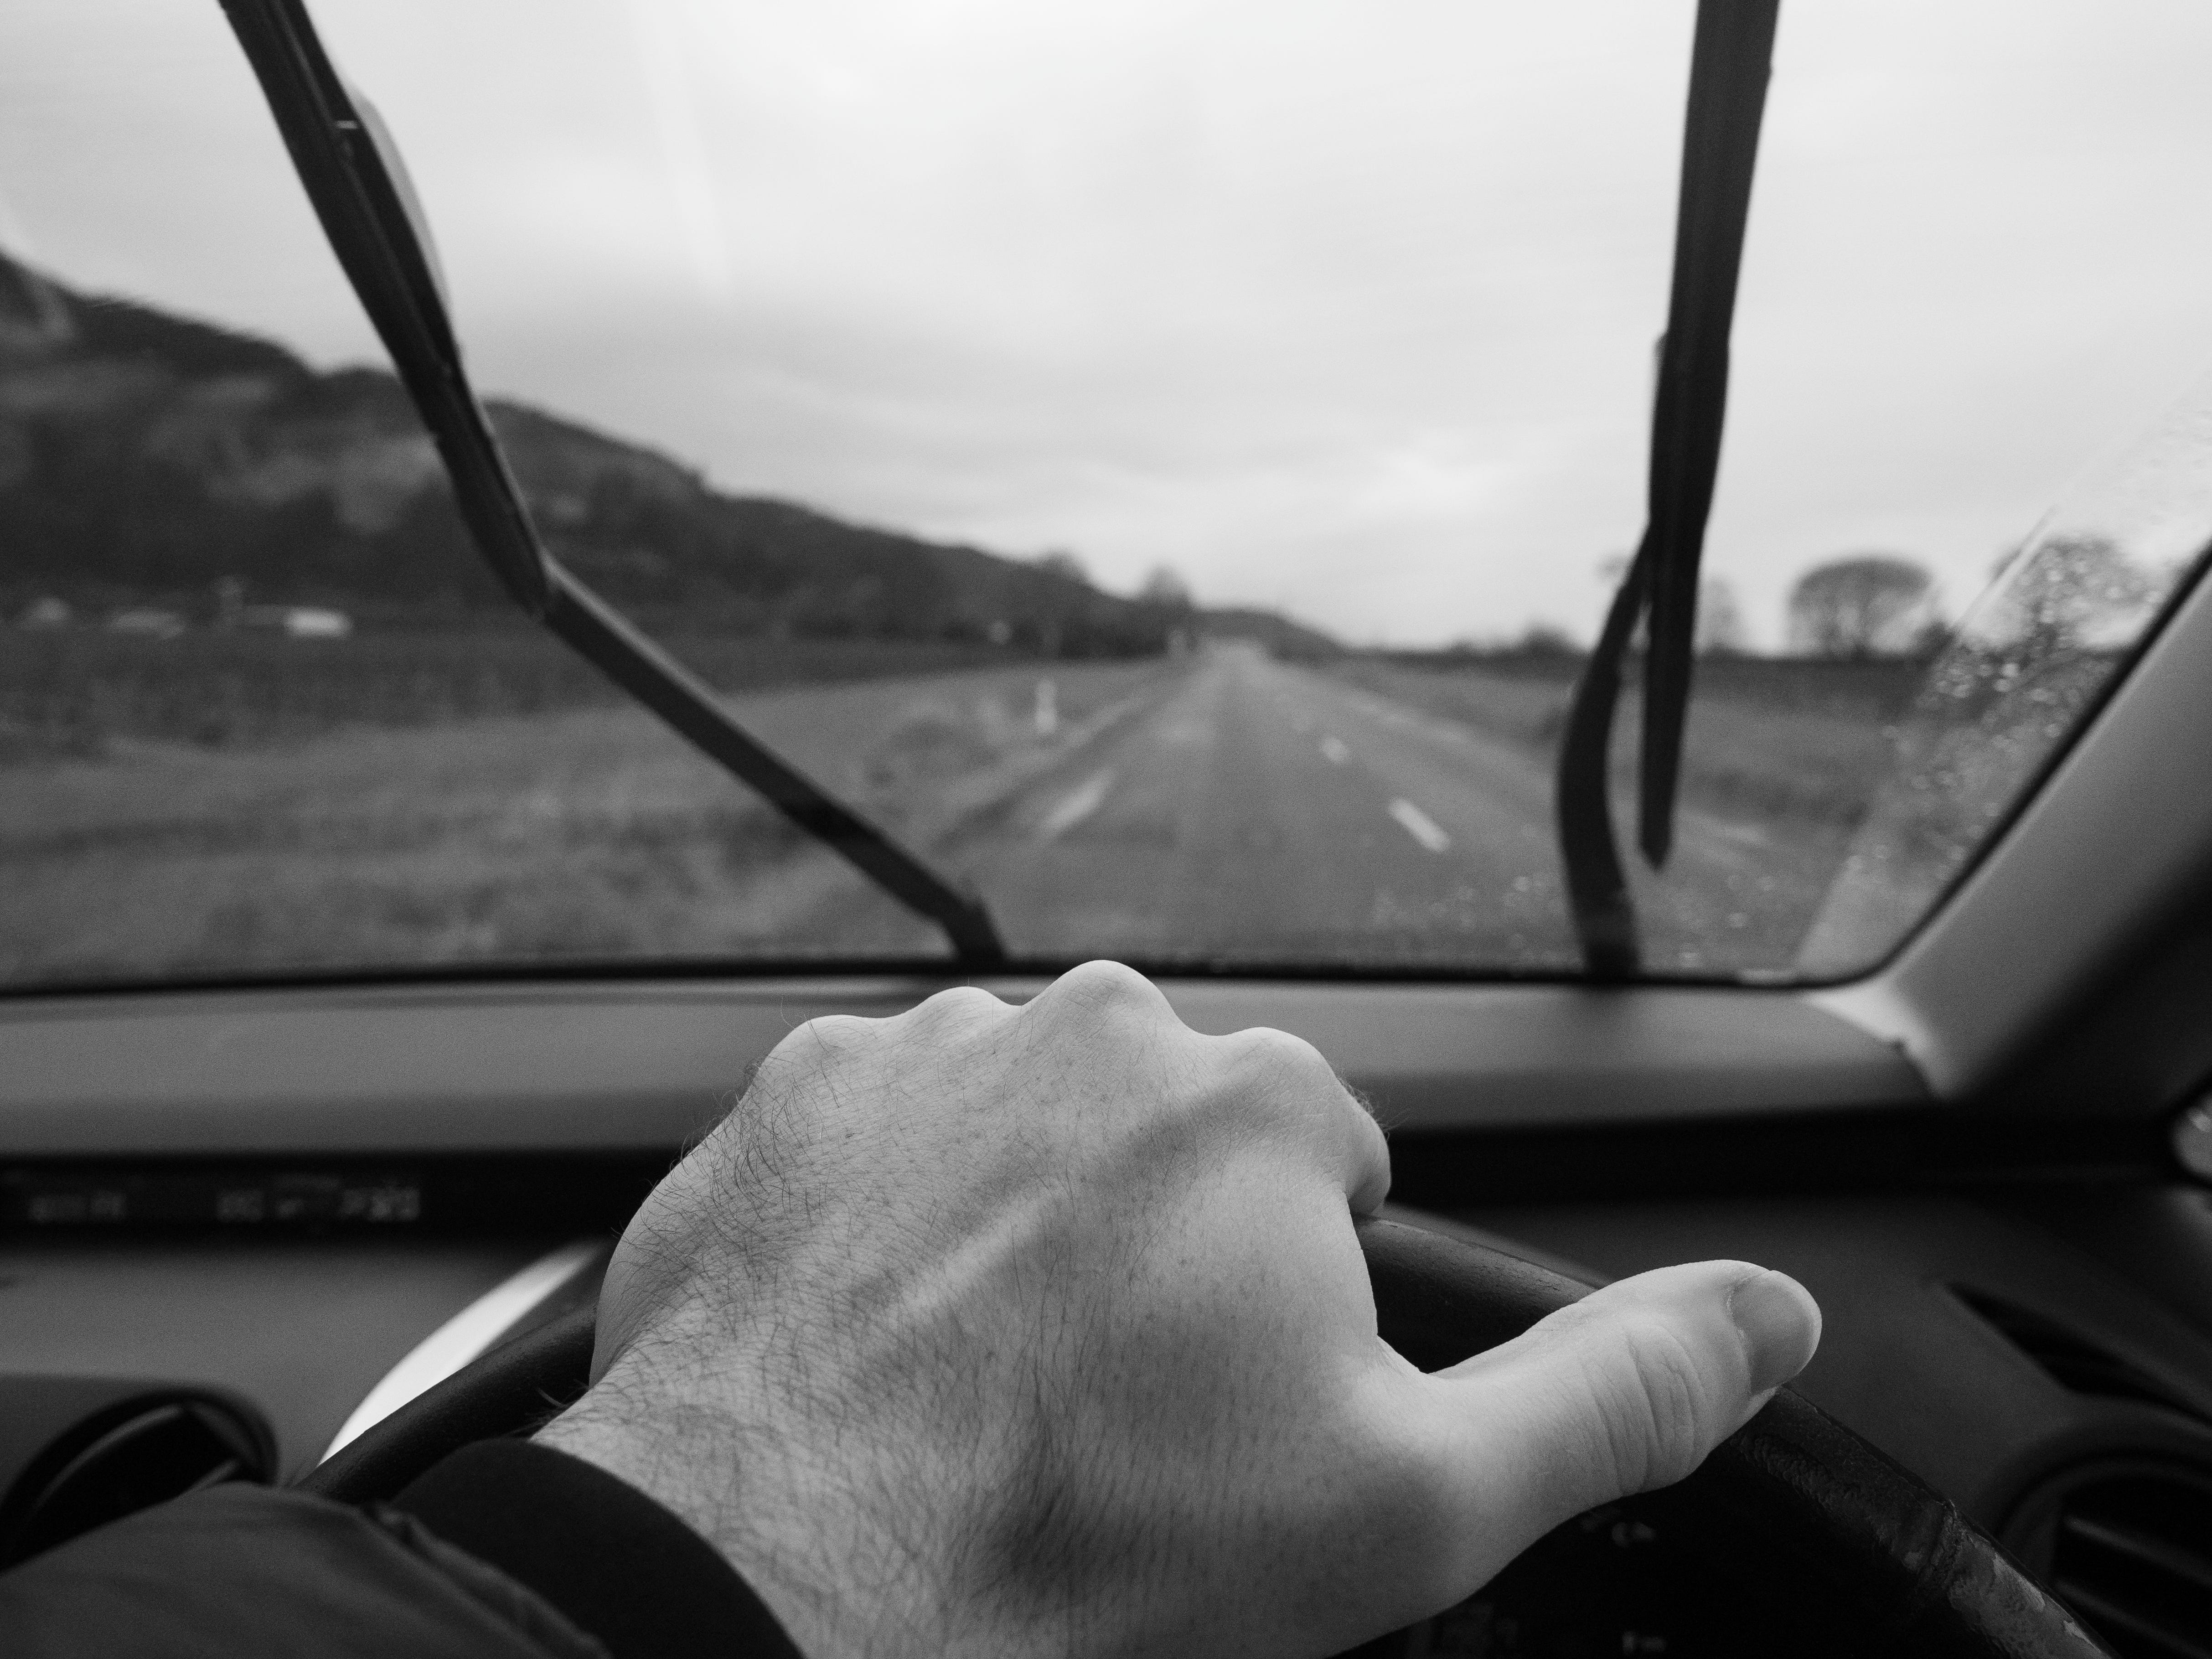
Context sets the stage, process drives the plot, and discovery delivers the payoff.
Here’s what I did, how I did it, and how you can try for yourself.

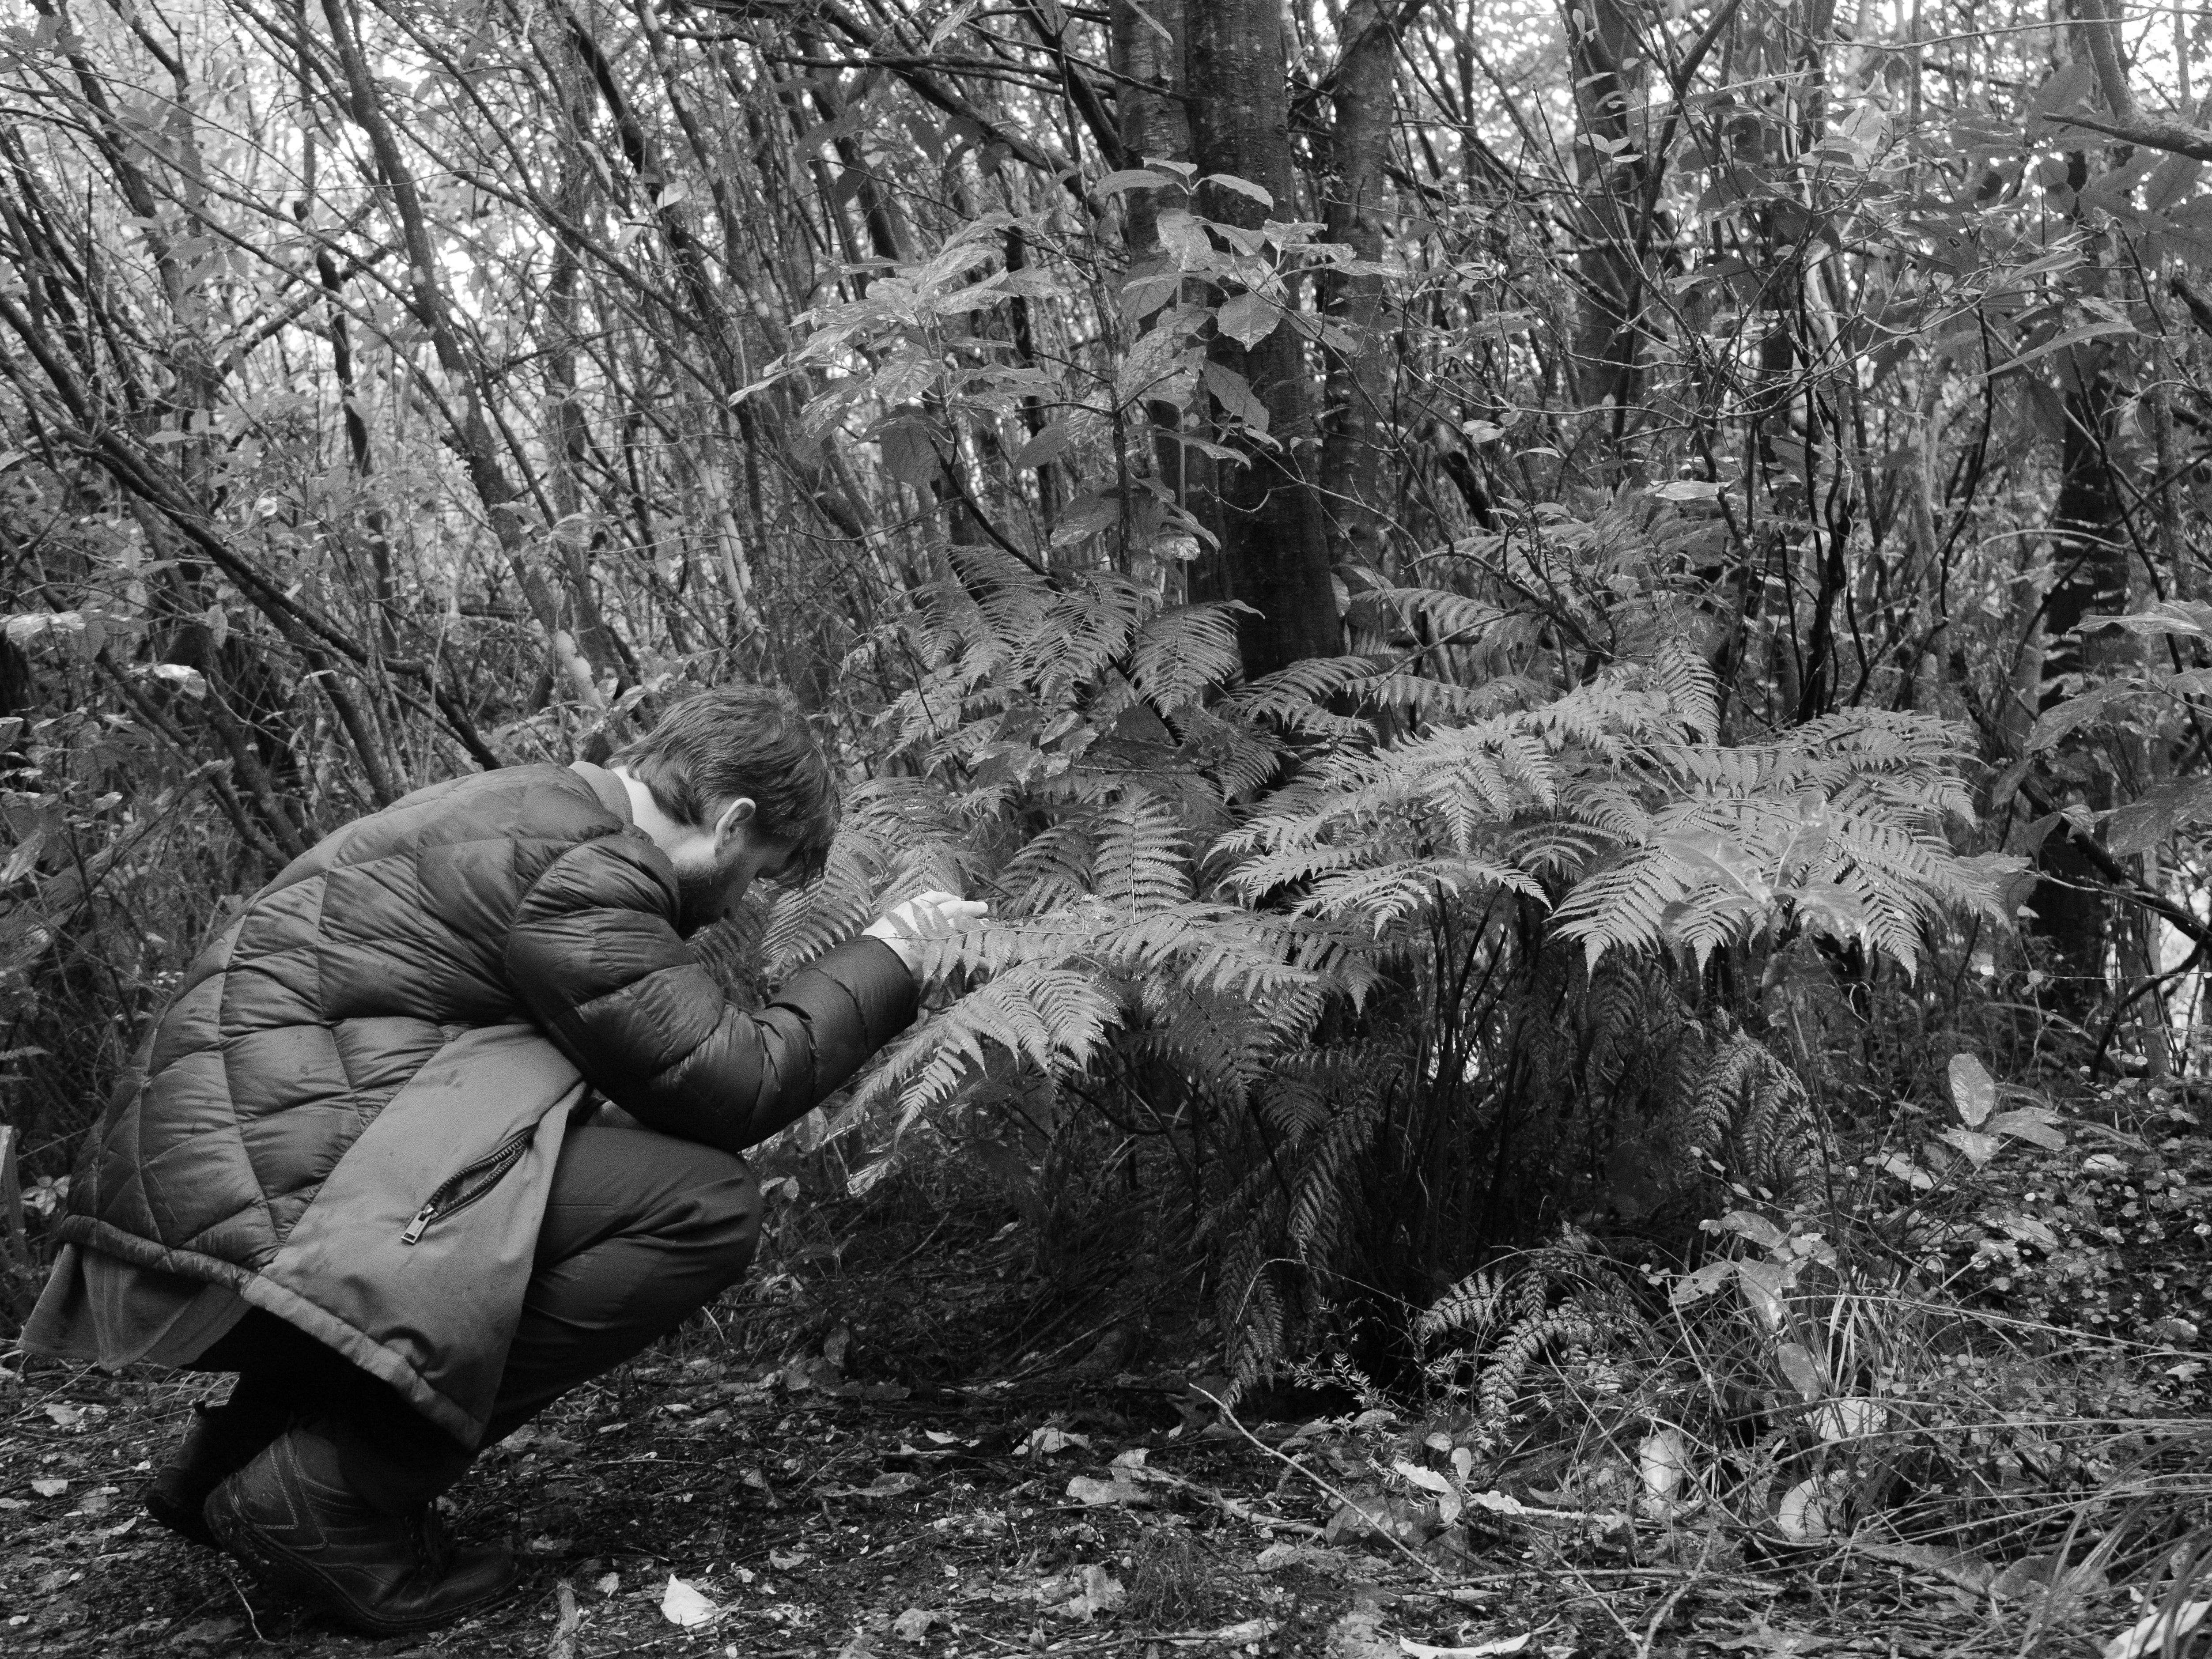
Tip: Use a Radial Filter over your figure and boost Clarity there - you’ll subtly guide the eye without overdoing the forest floor.
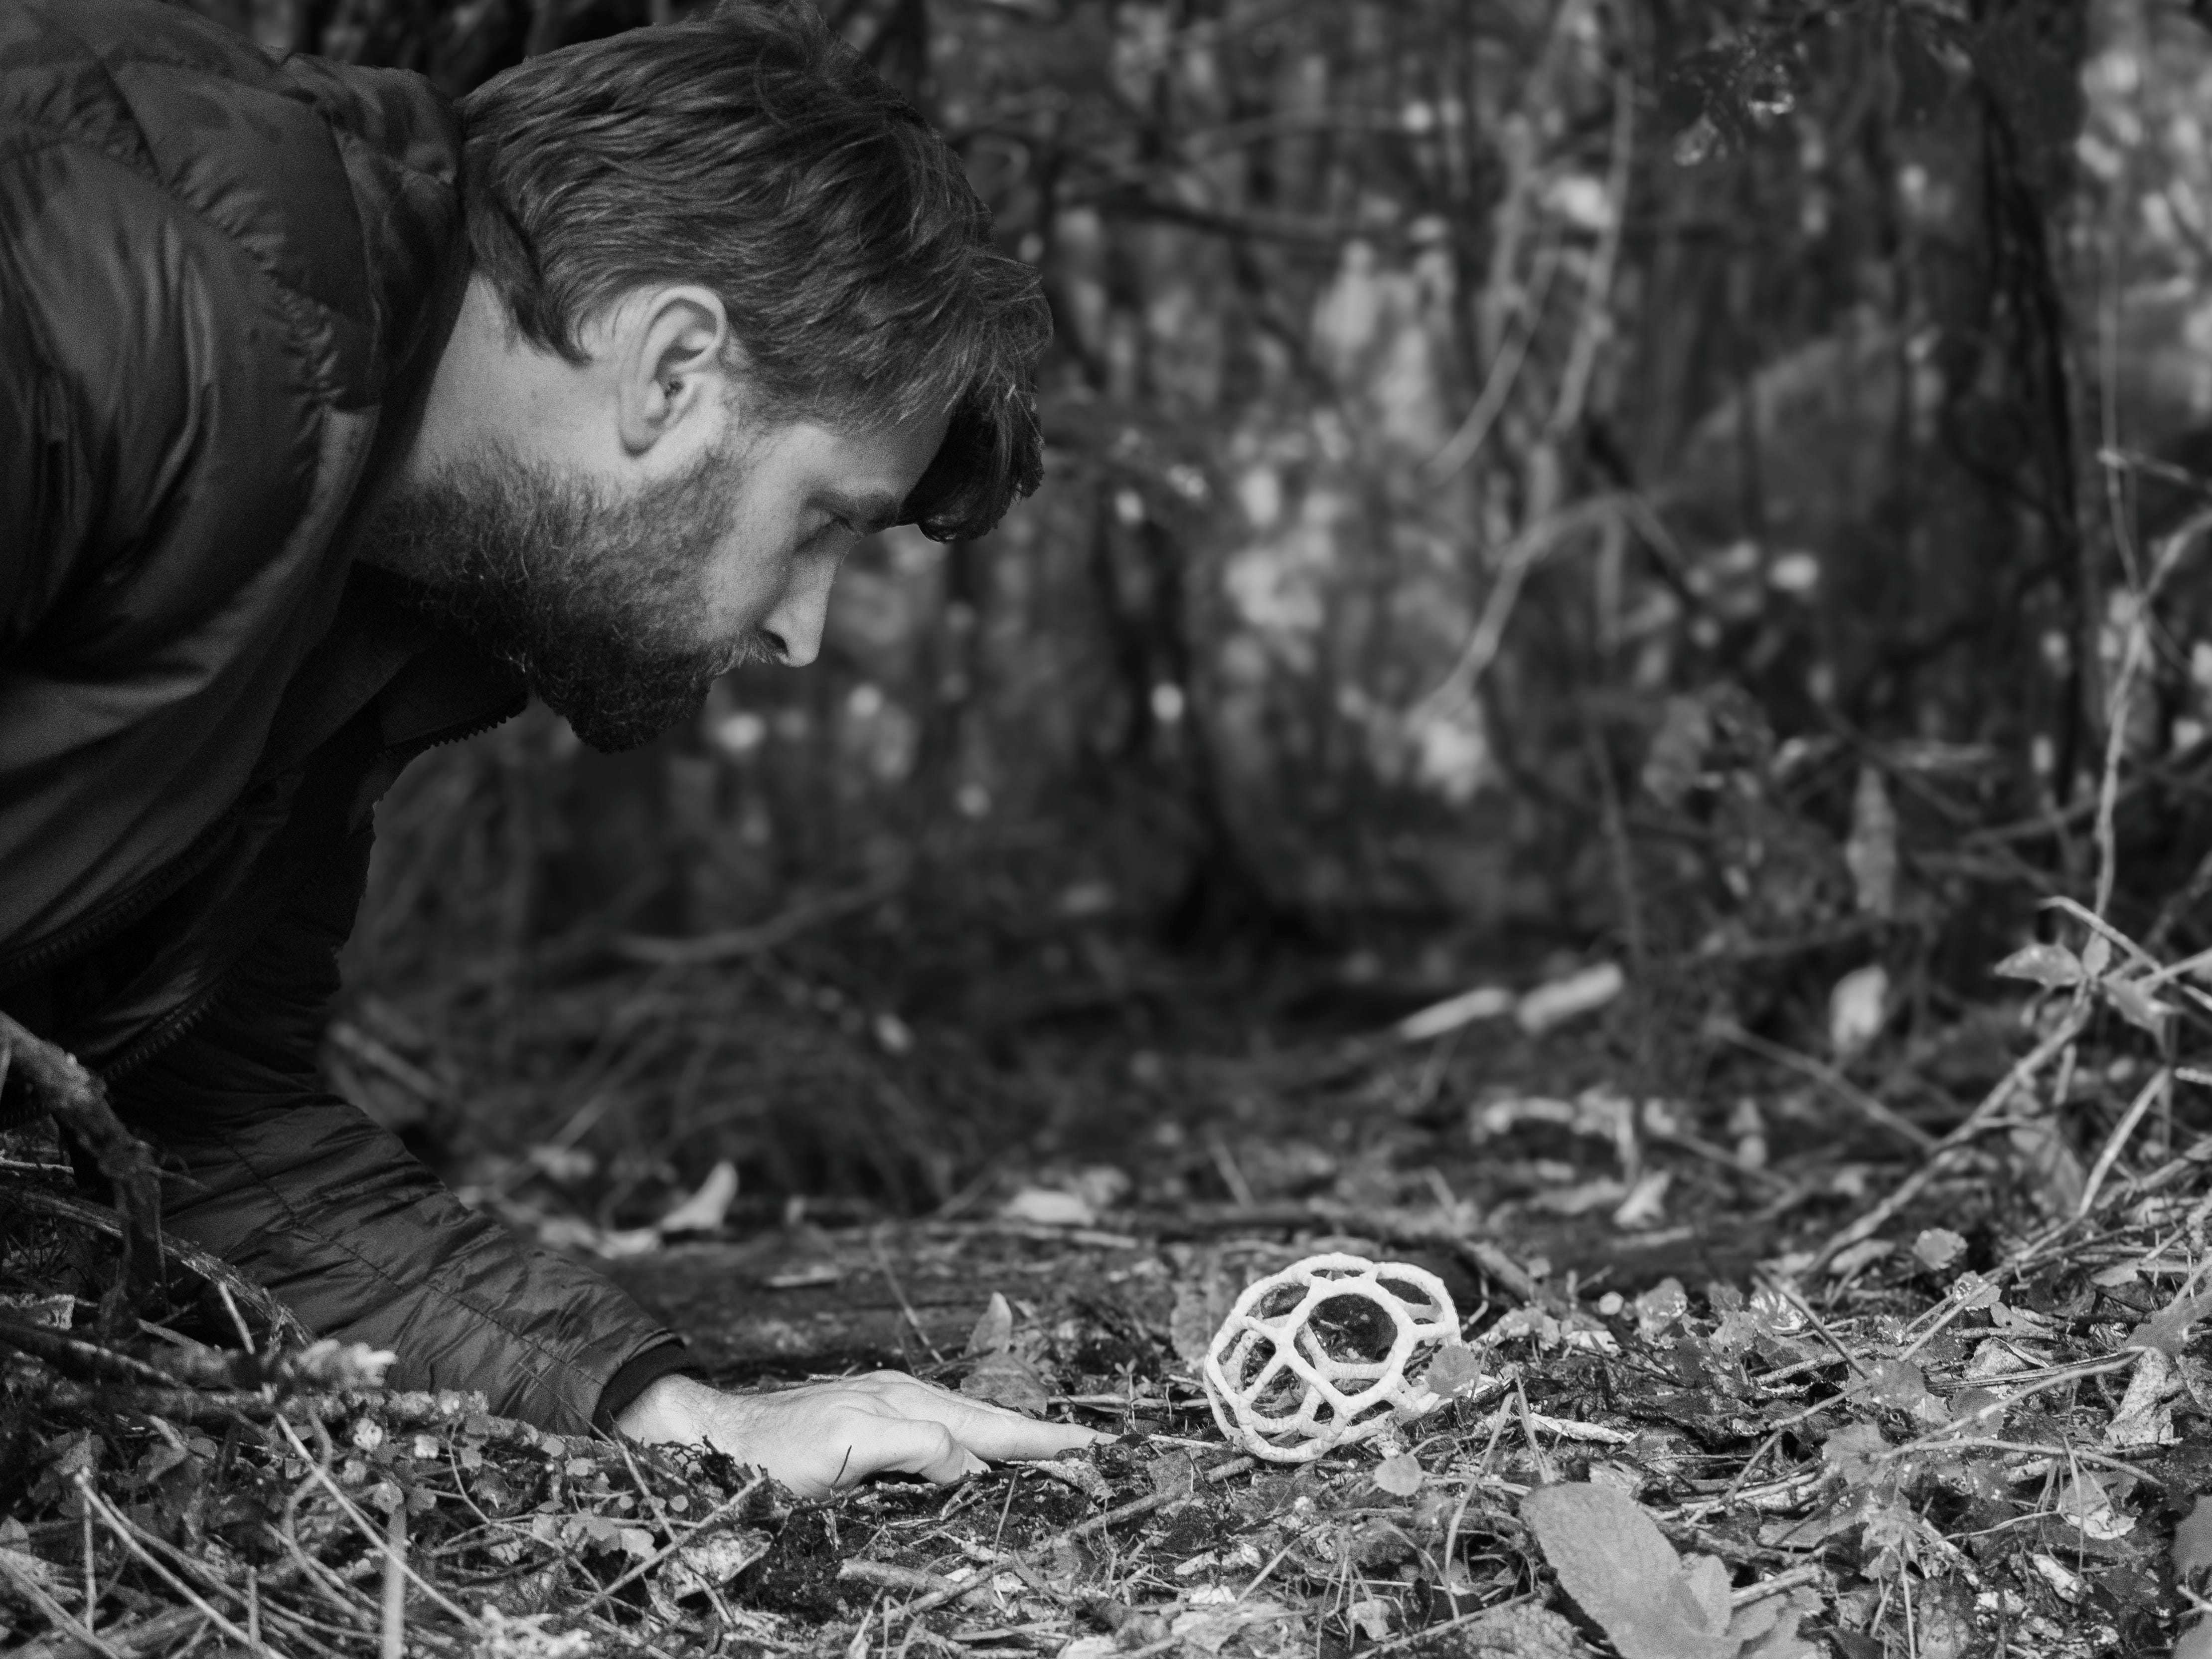
Tip: After pulling back Whites and Highlights, switch on the Luminance Range Mask. Drag its sliders until the adjustment only hits the bright fungus, not the dark leaves around it.
Tip: Right-click the Curves layer and choose “Create Clipping Mask” so you only affect the areas you paint with your mask brush.

I’m hoping to gain inspiration from adopting a more photojournalistic approach, rather than remaining myopic and stuck at the plateau of simply focusing on stacking and producing macro shots, and instead become more narrative-driven.
The journey to discovery is just as exciting as finding a unique species.
Your Turn:
Shoot in RAW – even if it means bigger files, you’ll have way more editing freedom later.
Map your zones first – get your bright and dark areas roughly where you want them in the Basic panel before you dive into colors or curves.
Paint in your edits – use local tools (like the adjustment brush or the circular filter) to apply changes exactly where you need them.
Tell your story in order – start wide, move into the action, then finish with the details that matter most.
Give it a go and share the results (if you want). I’d love to see how you bring your own zone of creativity to life.
Also, as this is my first attempt, and I’m still learning, any critical feedback is much appreciated.
Great post. Thanks for sharing your tips and tricks.